The User Interface Model is an important part of ORIGAM Architect that builds atop the Data Model. In this tutorial you will learn how to create a Screen Section, a Screen and a Menu.
Screen Section
A Screen Section is a UI element that displays data from the entity on which it is based. It can display all or only several fields (i.e. rows of data) from the entity. You can also create more screen sections based on one entity with different choices of fields.
-
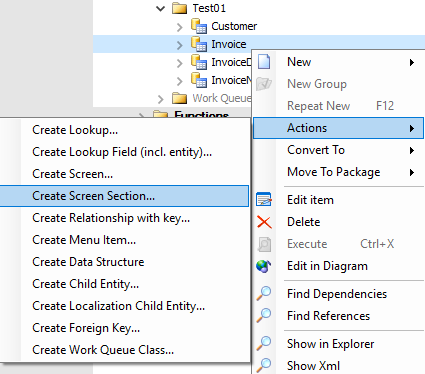
In the Model Browser go to the Data Model > Entities > YourProjectName and select an entity. Right-click on the entity and select Actions > Create Screen Section.
-
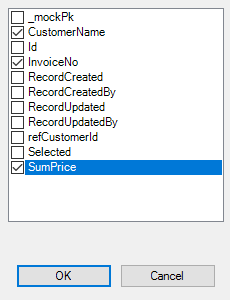
In the opened dialog window you have a checklist with all fields in the entity. Select those you want to show on the screen section and click on OK.
-
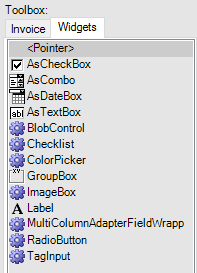
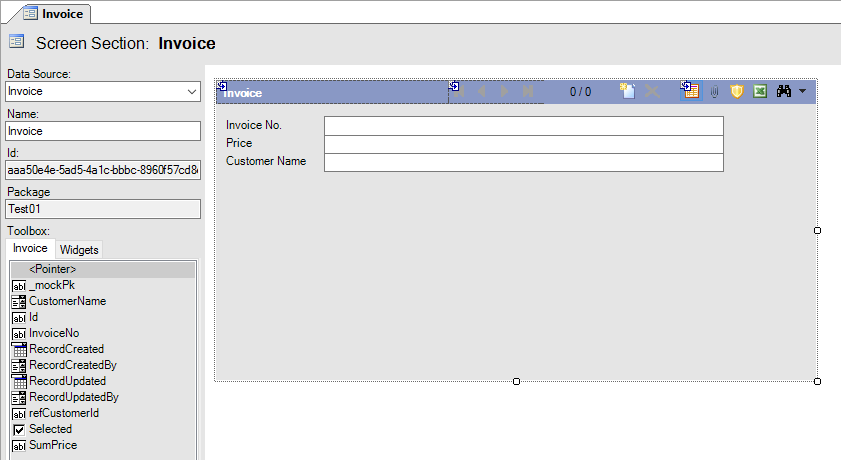
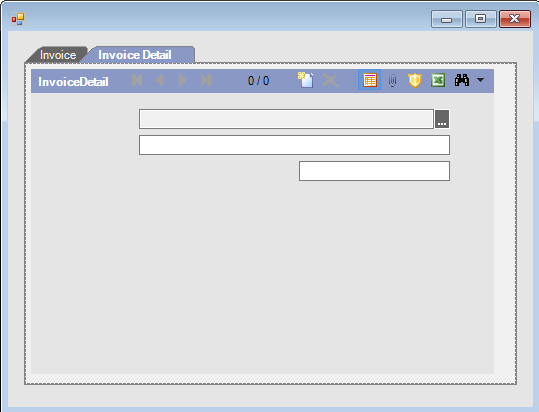
In the model editor you can see the layout of the screen section. In the Invoice tab in the Toolbox on the left side are all fields from the entity. The Widgets tab offers different ways how you can present your data. You can add items from both tabs by drag-and-drop and remove them by clicking on the field and pressing the Delete key.
-
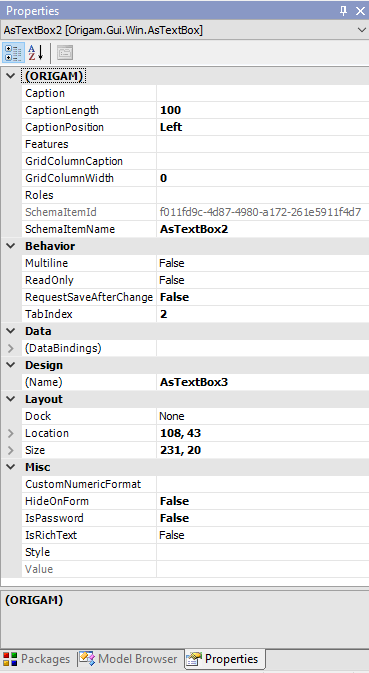
A very important feature is the Properties view. You can select it in the Menu under View > Properties or by pressing F4 and it will appear in the docked window. Here you can set e.g. the position of the elements and the captions, the ReadOnly attribute or the view in case of the whole section.
-
You can move the elements around and change their position by drag-and-drop. Blue lines will appear that will help you keep the same horizontal position of and space between the elements. You can resize the element by moving the mouse on the left or right edge of the element until a double-headed arrow appears, click and drag the mouse to make the element larger or smaller. If you want to make the element horizontally bigger, you must first go to Properties (press F4) and set the value Multiline to
True. If your caption is too long and does not show correctly, in Properties increase the CaptionLength. There, you can also set the ReadOnly value toTrue, so that the user can’t change the values. The element will then change colour from white to light grey.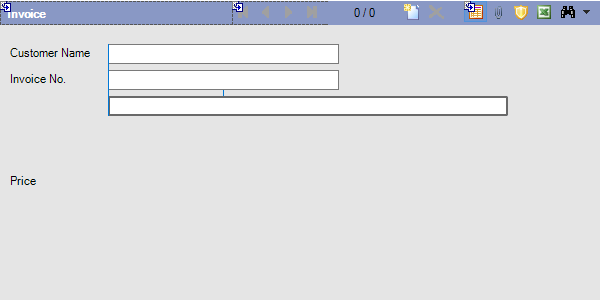
-
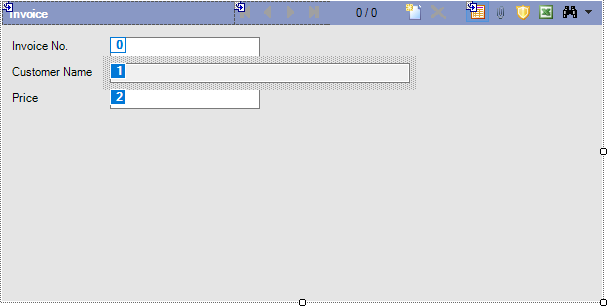
When you are satisfied with the look of the screen section, one more step remains before you save the changes. You have to set the TabIndex. The TabIndex is a sequence in which the user will move between the elements by pressing the Tab key. You can either set it manually for each element in Properties, or in the editor click on the screen section and press Ctrl+Shift+T. White numbers with a blue background will appear in the top left corner of each element. Click on the elements in the desired order (the already selected elements will change to a blue number with a white background) and again press Ctrl+Shift+T.
-
After you finish editing, save the changes.
Screen
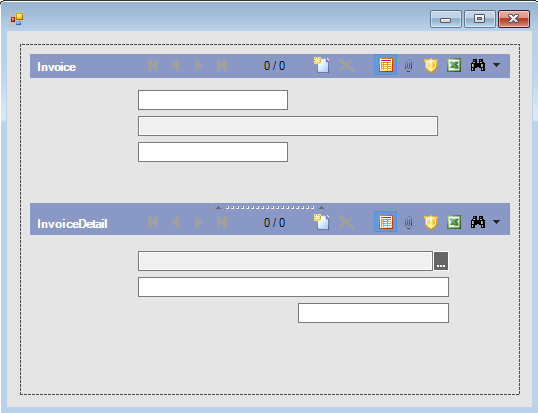
A Screen is a UI element that is built on a data structure definition and is assembled from screen sections. It can consist of only one screen section or it can be a collection of several screen sections arranged by available widgets such as Tab Control or Split Panel.
-
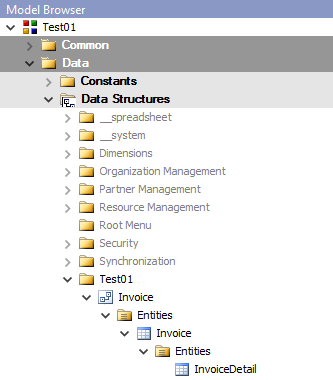
There are several ways how you can create a screen. You can expand Data Model > Entities > YourProjectName, right-click on one entity and select Actions > Create Screen. Another way is to expand User Interface Model > Screen Sections > YourProjectName, right-click on one screen section and select Actions > Create Screen. Finally, in the User Interface Model you can expand Screens, right-click on the subfolder named after your project and select New > Screen.

-
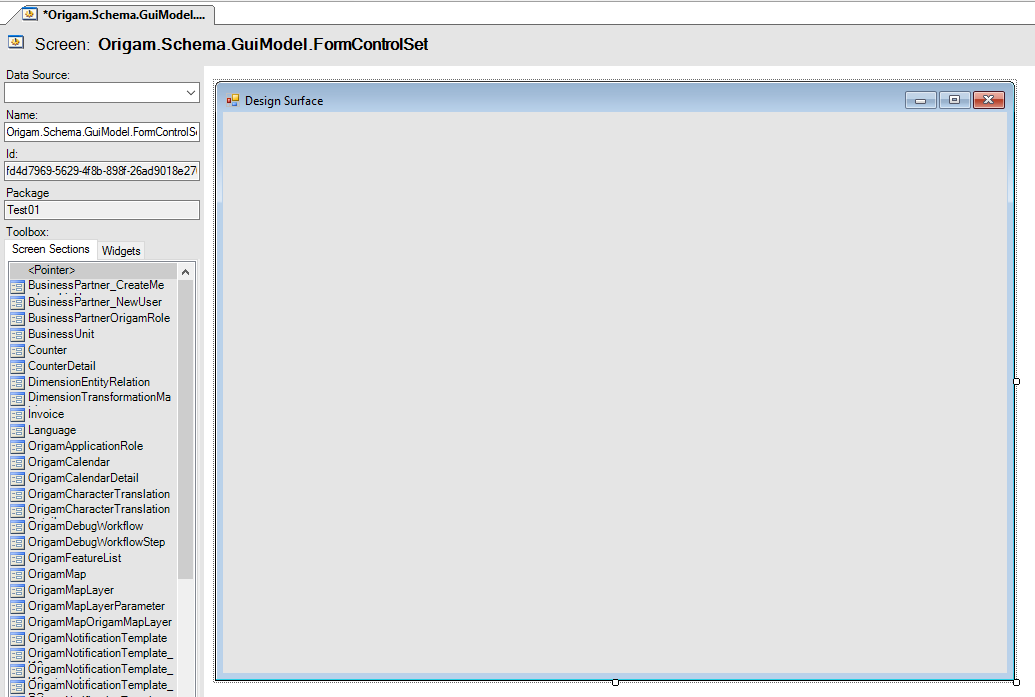
The model editor will open. If you create the screen using the first two ways, it will be based on the chosen entity. Using the last option, you have to select the Data Source for your screen. The Name will automatically change to that of your data source, but you can change it.
-
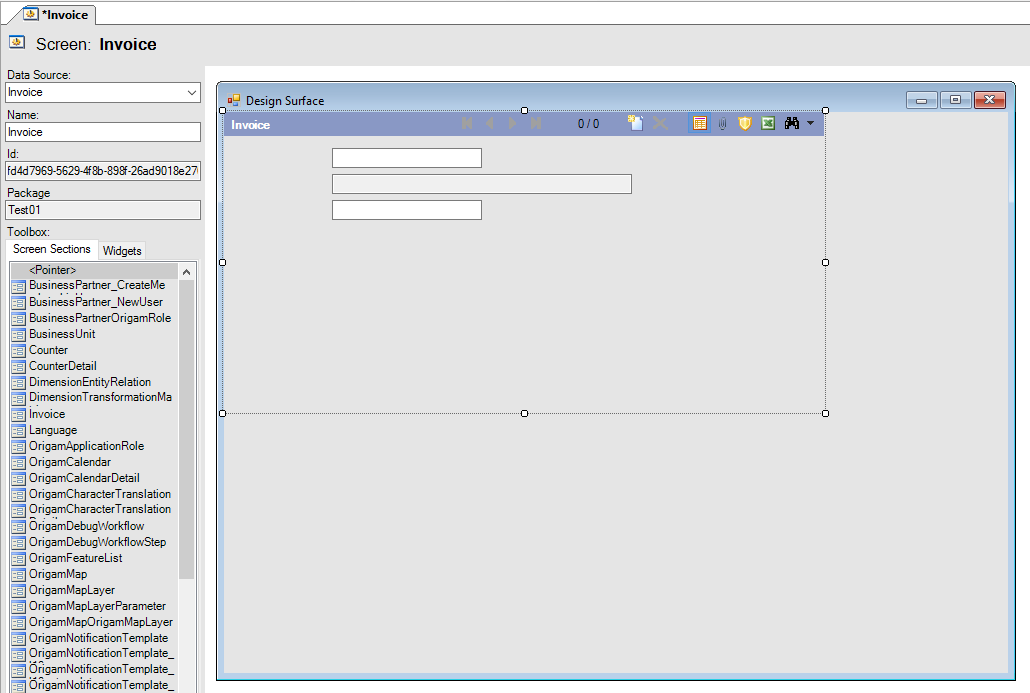
In the Toolbox on the Screen Sections tab select the screen section. When you click on one, it will appear in the Design Surface.
-
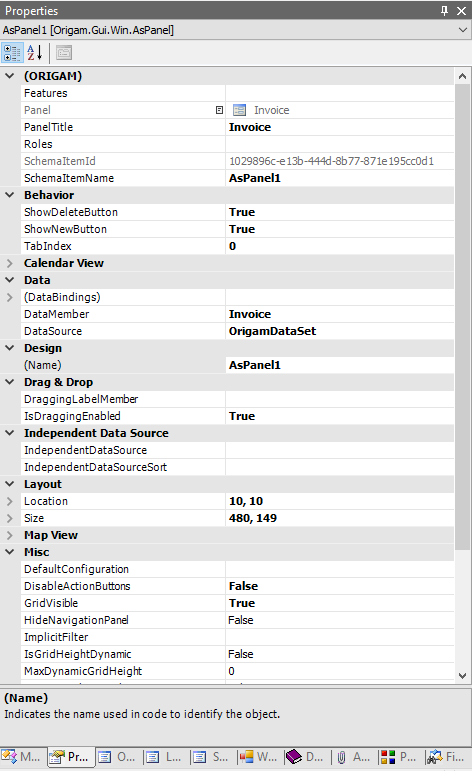
Again similar to the screen section you can change several attributes in the Properties (keyboard shortcut F4) view. Here you can set the PanelTitle that will show in the screen section heading if you want to show the delete and new buttons or completely hide the navigation panel. If your screen section contains dates, you can also set the Calendar View.
-
The screen can consist of one screen section. It is also possible to show more screen sections on one screen. For this, you can use e.g. the SplitPanel widget. In this way, you can either horizontally or vertically split the page in two parts. Likewise, you can add another SplitPanel on the design surface and create a screen consisting of three parts. A detailed description of how to create a split screen is here.
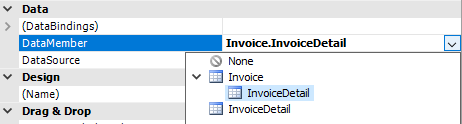
There is one very important thing you need to remember when showing more screen sections on one screen. You have to add the additional entities (on which the screen sections are based) to the Data Structure of the master entity (the entity selected as the Data Source for this screen). In the Properties you have to select the correct entity in the DataMember field.
-
Another useful widget is TabControl. It enables you to access more screen sections on one screen. A detailed description of how to create TabControl is here.
Menu
A Menu is a UI element that gives you access to a screen or a workflow.
-
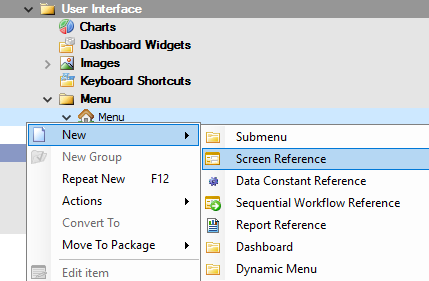
The easiest way to create a Menu Item is when you have already created a screen section and a screen. You can expand the User Interface Model > Menu, right-click on the Menu folder (with the house icon) and select New > Screen Reference.
-
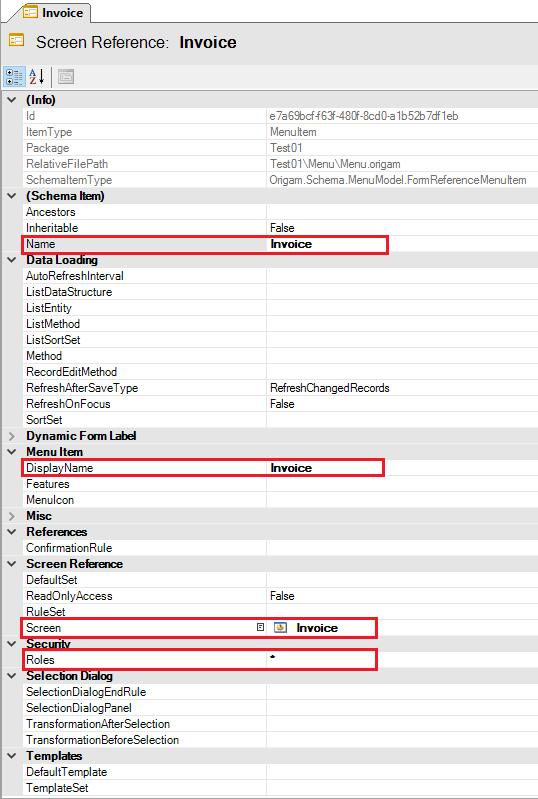
The model editor will open. Now you can fill in the attributes. The element is referenced in the model by Name. DisplayName is used in the web application and this is what will the user see. In Screen you set a reference to the screen that will be displayed when you click on the menu item. In Roles you grant access to the screen to a user. When you use a star (*), the screen will be visible to all users. Otherwise, fill in a list of application roles separated by a semicolon.
-
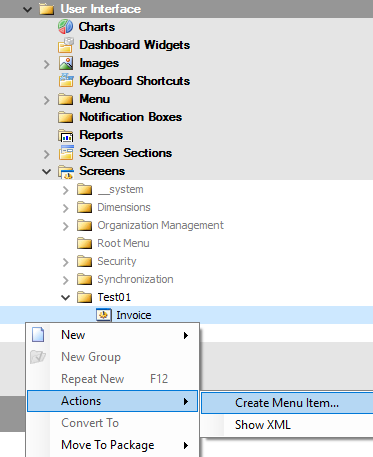
There are other ways to create a Menu Item. You can expand Data Model > Entities > YourProjectName, right-click on one entity and select Actions > Create Menu Item. A wizard will appear that will create a screen section, a screen, a menu item and a data structure for you. Another way is to expand User Interface Model > Screen Sections > YourProjectName, right-click on one screen section and select Actions > Create Menu Item. Finally in the User Interface Model you can expand Screens > YourProjectName, right-click on one screen and select Actions > Create Menu Item.
-
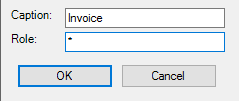
A wizard will appear where you fill the Caption and Role fields. Click on OK.
-
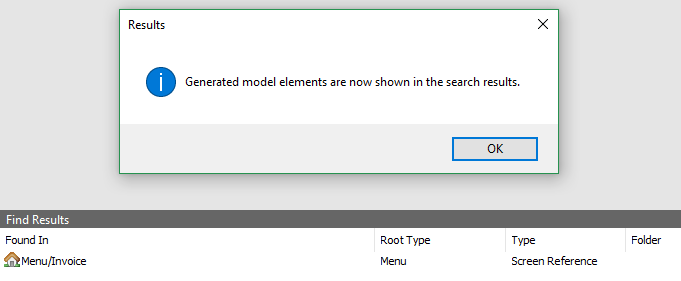
The wizard will finish for you and show you the generated element.