Release Goals
- Installation package
- Simplifying new project creation
- Migration of Architect and Desktop Client to .NET 3.5
- Contextual help in Architect
- Improving ASP.NET Identity integration
- Self-Registartion
- Streamlining the Rule Model
- New built-in SuperUser role
- Possibility to delete BLOB field contents
- Report exposal through API
- Fixing issues
Migration
The migration from the previous release (2015.4) is pretty straightforward. If you migrate from an older version you need to go through the previous migration steps.
-
Update the Architect (or install a new one using the new installation package - a preferred method).
-
If you installed Architect using the installation package, copy AsapSettings.config from your old Architect to the newly installed one
(\Program Files (x86)\ORIGAM). -
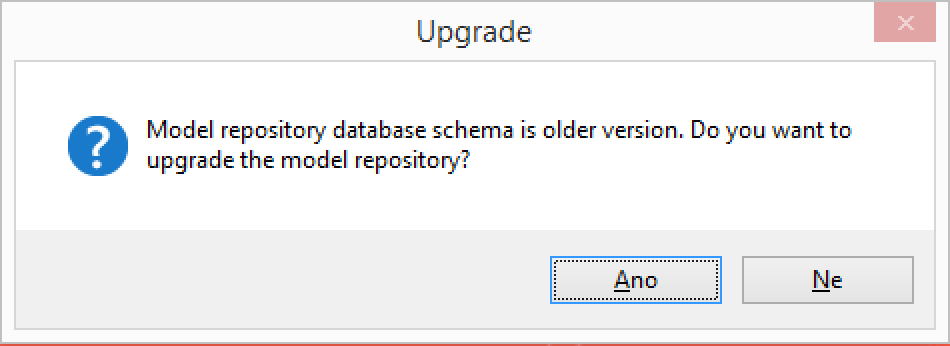
Open Architect, select your project and answer Yes to the following popup dialog:
-
This will update your model structure to the latest version.
IMPORTANT
This version will store a model structure version information in the exported model XML files. Model files saved using a different version will not open in Architect. You need to export all your packages to XML again using this version of Architect in order to be able to load them later on. Old files will not open.
-
Import the up-to-date versions of Root model packages (Root, Security, Root Menu - if used)
-
Save all your packages again into XML if you are using a source control versioning system (e.g. GIT).
-
Update the application server(s) using the update package (copy all files from the .ZIP file over your application server files)
Installation Package
We finally figured out the best way how to install ORIGAM platform flawlessly. From now on you can download the new installation package.
The package just installs Architect plus a complete template of the application server and root model of the same version. These will be used by the New Project wizard (see below).
Unified Build Versions
Until now every product (Architect, Application Server, Desktop Client…) had its own build number (e.g. 2015.4.0.50). Since the code base is shared between the products and there are strong dependencies between them (e.g. on the Root package), we unified the build numbers. From now on all the products share the same build number so you can easily recognize if you are using the same version across the installed applications (e.g. same Architect and Application Server).
Side-By-Side Architect Installation
As we know that some customers are conservative and use a stable version for a year or more and some customers go on the bleeding-edge of the latest-latest, we implemented the installation package so you can run several different stable versions side-by-side.
Example:
- The current version will install as ORIGAM Architect (2015.7)
- When you update this version (download a newer build) it will overwrite this version, keeping your 2015.7 Architect up to date.
- When you download the next version it will install as an independent product, in a different folder (e.g. ORIGAM Architect 2015.11)
- You will convert some projects to the newer version (moving your settings from the old to the newer Architect) whereas the conservative projects will stay on the previous version.
- After all the projects get migrated from one version of Architect, it can be uninstalled safely.
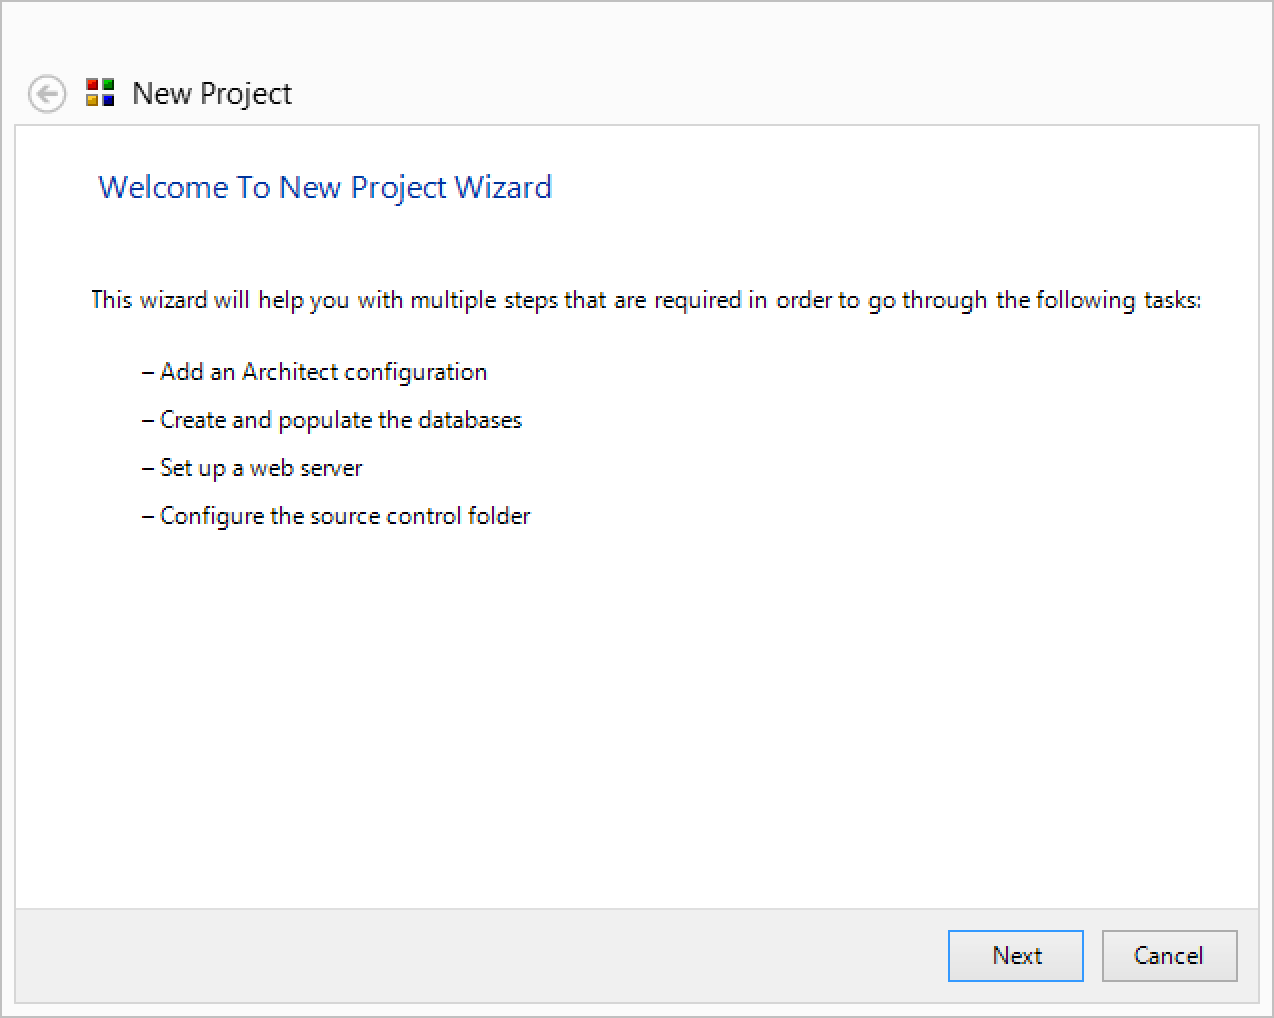
New Project Wizard
You can find a new menu item File > New Project in Architect. It will help you set up a new environment for a project including:
- Configuring Architect settings
- Creating empty databases
- Importing the root model packages
- Creating a new package
- Setting up a new website
The only prerequisites are:
- An instance of SQL Server
- Locally installed IIS Server (the wizard does not support a remote web server)
The only thing you will have to do is to name your project and provide a database server name. The rest is done automatically.

The wizard will use files contained in the Project Templates\Default folder created by the installation package. It contains an up to date root packages and an application server template. It will also set up a web server for you and configure it appropriately.
You can start developing right after the New Project wizard finishes.
Migration to .NET 3.5
It’s here. We finally migrated our desktop applications to .NET 3.5. This paves the path for future migration to .NET 4 and removing some obsolete components we have been using. The functionality remains the same for now.
You may find inconsistencies with the previous version of Architect or bugs. Please report these to us on the community.
Contextual Help In Architect
You can now press F1 (or go to the Help menu) and a browser with this documentation will appear. If call out help while editing a part of the model, you will be redirected to the appropriate topic automatically.
Some of the documentation pages are still not finished and are empty. Please be patient, we will be working on the documentation in the following weeks a lot.
Improving Asp.NET Identity Integration
The user management now allows the administrator to confirm the user’s e-mail manually. Also it is now clear if the account has been locked - the Unlock button will only appear in such a case.
The IdentityService sequential workflow service adapter also contains additional methods for managing users.
Self-Registration
It is now possible to turn on a built-in self-registration page using **appSettings/**userRegistration_Allowed = true. This will allow a new user to sign up to your application. After entering his name, e-mail and a password he will be sent a confirmation e-mail. After confirming he will be able to log-in to your application. An initial user role can be configured using appSettings/userRegistration_DefaultRoleId.
Additionally appSettings/userRegistration_MailSubject, appSettings/userRegistration_MailBodyFileName must be set. Placeholders for the mail body file are:
<%token%> - e-mail confirmation token
<%userid%> - user Id
<%username%> - user name
<%name%> - name
<%firstname%> - first name
The default token confirmation URL format is http://yoursite/ConfirmEmail?token=\<%token%>&userId=<%userid%>. This has to be provided in the e-mail body so the user can click and finish the registration.
Register and ConfirmEmail pages need to be configured accessible by an anonymouse user.
Streamlining Rule Model
We used to have two options in the old Architect - Start Rule (which was basically any kind of an XPath based rule) and an End Rule (XSLT based rule). These were used in different scenarios with different input context formats. All the rules were always provided in rule list so you could easily choose an improper rule type in the model.
From now on we are introducing the following rule types:
| Condition Rule |
An XPath based rule that always returns a boolean value. Input context: Full document. Used in:
|
|---|---|
| Validation Rule |
An XSLT based rule that returns a RuleExceptionDataCollection type. Input context: Full document. Used in:
|
| Validation Rule Lookup XPath |
An XPath that should return a string containing a Validation Rule. Typically this will be AS:LookupValue function that will load the user created validation rule from the database. Input context: Full document Used in: see Validation Rule |
| Entity Rule |
An XPath based rule used for evaluating entity-level conditions. Input context: Used in:
|
| Complex Data Rule |
An XSLT based rule used for enforcing rules on data (calculated fields). Input context: Full document Used in:
|
| Simple Data Rule |
An XPath based rule used for enforcing rules on data (calculated fields). Input context: Full document Used in:
|
SuperUser Role
When you created a new application role (e.g. using New Menu Item action) you had to the user management and assign the role to yourself before being able to test it. Also when you upgraded your customer’s application the administrator would have to go through all the newly created roles and assign them first to himself to see what these new menu items contain.
From now on there exist a built-in SuperUser role to which every newly created application role (using actions) will be assigned. You will be (as a super user) immediately able to see the new menu item after running the deployment script containing the new application role.
Delete BLOB Field Contents
The BLOB field widget now contains a new option Delete which will delete the contents of the blob field. The web based version of the widget was also redesigned so it contains all the commands not as icons but as a context menu (aligned with the desktop version).
Report Exposal Through API
The API model now contains a new ReportPage element. It allows you to select a Report which will be returned to the callee. It is now possible to include modeled reports in your HTML applications.