This tutorial will take you step by step through the process of setting up a new project in ORIGAM Architect.
When you open ORIGAM Architect for the first time, you encounter the New Project wizard that will lead you through the set-up of your project. For this, you need to have administrator privileges because you need to configure the web server. Click on the Restart As an Administrator button.
-
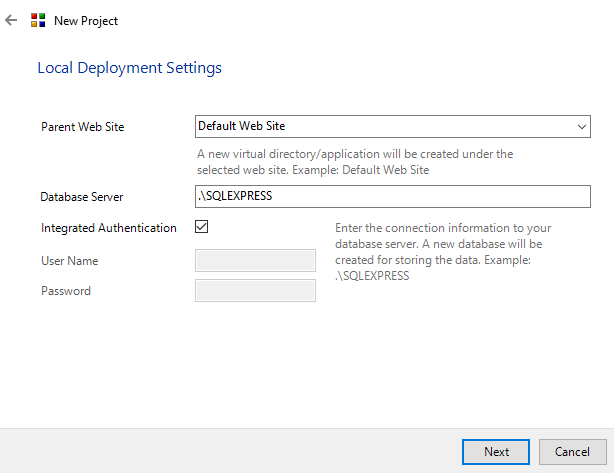
After choosing a name for your project, you have to choose the Local Deployment Settings. As a default, the Parent Web Site is set to a Default Web Site. For the Database Server, the default is .\SQLEXPRESS (unless you don’t use the basic free edition of Microsoft SQL Server). You can either use the Integrated Authentication (that is Windows Authentication, default option) or set your User Name and Password.
-
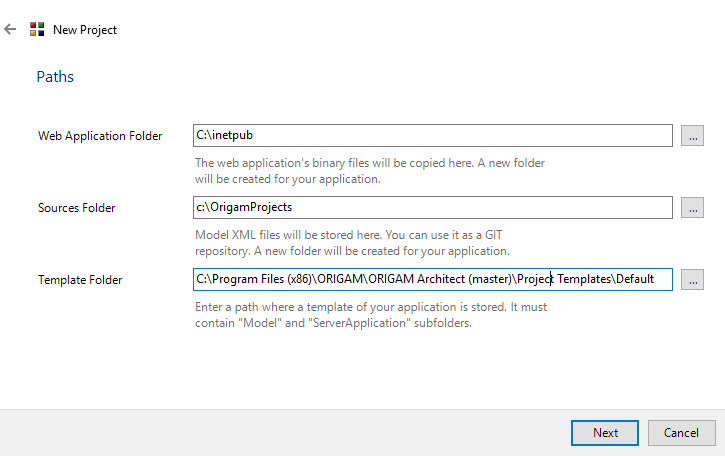
The next step is to select your storage folders. The default options are already filled in for you, but you can select your folders. Inetpub is the default folder for Microsoft Internet Information Services (IIS) used for storing website content and web applications. The location of your Sources Folder is optional. The Template Folder must be the folder where a template of your application is stored and it must contain the “Model” and “ServerApplication” subfolders.
-
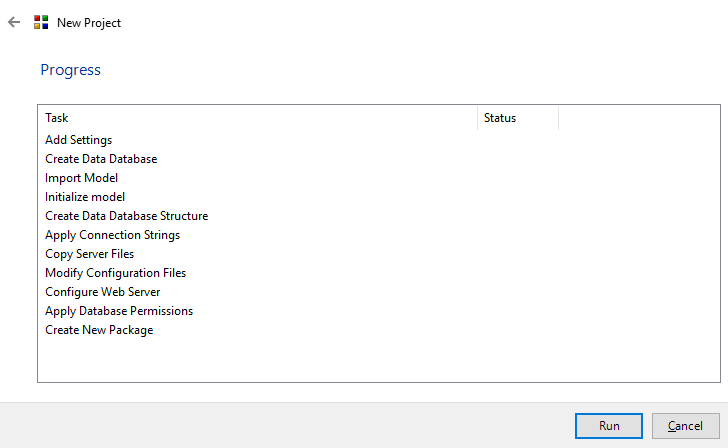
In the next step the wizard will finish a lot of tasks for you, e.g. create a data database, modify the configuration files or create a new package. Select Run and follow the progress.
-
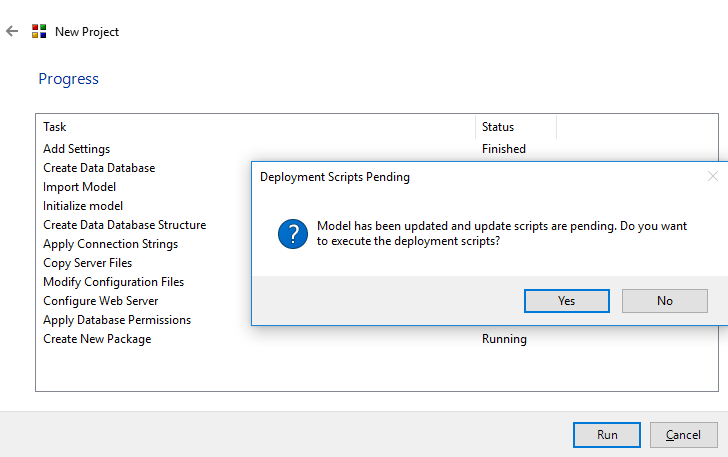
Before the wizard finishes creating a new project, you have to execute the deployment scripts.
Now you can start with your project!