The following article describes the steps needed to install the application server using the Setup (MSI) application and describes all the prerequisites needed.
Table of Contents
1. Prerequisites
These are the prerequisites you will need:
- .NET Framework 4.6
- IIS 7 and higher
- Windows Authentication IIS Module
- ASP.NET 4.5 IIS Module
- SQL Server 2008 and higher
.NET Framework 4.6
On Windows 8 and Windows Server 2012 the framework is preinstalled.
On earlier versions, you need to download it and install it separately.
For more information about installing .NET Framework 4.6 see this MSDN article.
IIS
You need to install IIS with the following IIS features:
- .NET Extensibility 4.5
- ASP.NET 4.5
- ISAPI Extensions
- ISAPI Filters
- Request Filtering
- Windows Authentication
- Static Content
- Default Document
- Directory Browsing
- HTTP Errors
- HTTP Logging
- Request Monitoring
- Static Content Compression
- IIS Management Console
For instructions about how to install different versions of IIS on different operating systems see http://www.iis.net/learn/install.
This command line command should be enough to install everything for you (you need to run it with Administrator privileges):
IIS Installation Command Line
C:\Windows\system32>Start /w pkgmgr /iu:IIS-WebServerRole;IIS-WebServer;IIS-CommonHttpFeatures;IIS-StaticContent;IIS-DefaultDocument;IIS-DirectoryBrowsing;IIS-HttpErrors;IIS-ApplicationDevelopment;IIS-ASPNET45;IIS-NetFxExtensibility45;IIS-ISAPIExtensions;IIS-ISAPIFilter;IIS-HealthAndDiagnostics;IIS-HttpLogging;IIS-LoggingLibraries;IIS-RequestMonitor;IIS-Security;IIS-RequestFiltering;IIS-HttpCompressionStatic;IIS-WebServerManagementTools;IIS-ManagementConsole;NetFx4Extended-ASPNET45;IIS-WindowsAuthentication
SQL Server
You need at least SQL Server Express Edition version 2008 and higher. The latest SQL Server 2014 is fully supported.
The setup presumes (but you can change it) that you install the SQL Server on the same machine as installing the server and the SQL Server instance is named ORIGAM (so the full server name would be .\ORIGAM).
2. Installation
The setup wizard goes through the following steps.
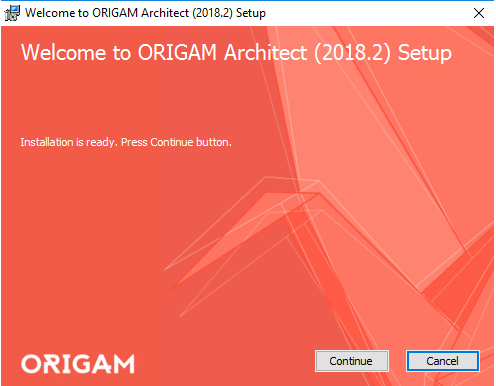
Welcome Screen
Nothing to do here, just press Continue.
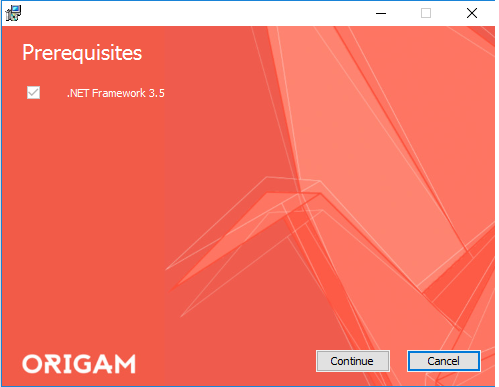
Prerequisites
Here the setup checks for prerequisites. If all items are checked click on Continue. Otherwise, check the previous parts of this guide to set up all the prerequisites.
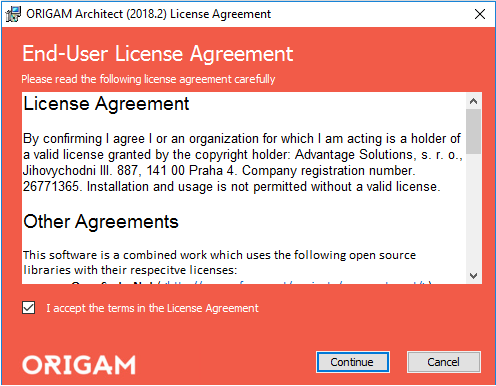
License Agreement
You need to check “I accept…” to continue. After that, click on Continue.
Installation Progress
By clicking Continue on the previous page you start the installation. You will see a green moving bar and you need to wait. In this step, you can see different errors that would tell you if something went wrong.
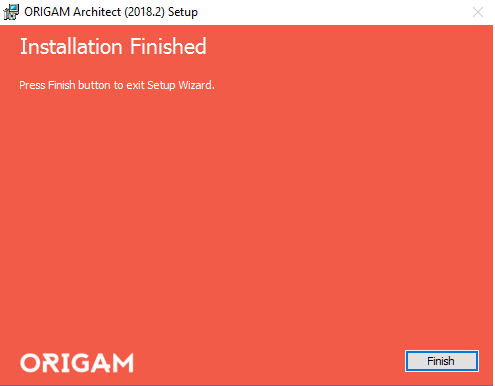
Finish
If everything went correctly you will see the following screen.
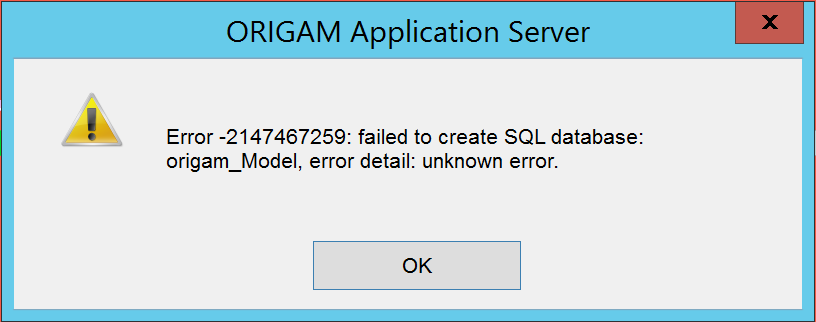
3. Troubleshooting
These are the things that can go wrong.
SQL Server connection
In the case of this error, the problem is that you specified an invalid connection to the SQL Server. Either the Server Name is wrong or your credentials (Windows account or user name/password combination is not correct).
In case you cannot easily find out what the problem is you can try to turn on the verbose logging of the MS Installer by using the command line:
msiexec /i ServerSetup.msi /L*v installation_log.txt
HTTP 500.21 INTERNAL SERVER ERROR
You probably had .NET Framework 4/4.5 installed before IIS. When installing IIS after .NET Framework you need to manually register ASP.NET by running the following statement in the command line. For more information see http://msdn.microsoft.com/en-us/library/k6h9cz8h(v=vs.100).aspx#findingthecorrectversion.
aspnet_regiis.exe -i
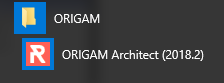
4. Check the Results
After finishing the installation you should be able to access your website by clicking on a Programs menu shortcut Origam Architect under ORIGAM folder.
Since by default the website is configured for Windows Authentication you should be able to enter the website with single sign-on (without needing to login). If the browser requires you to log in add “localhost” (or the external IP on which you access the site) to the Trusted Sites.
This is the result you should see if you go to the website via a browser:

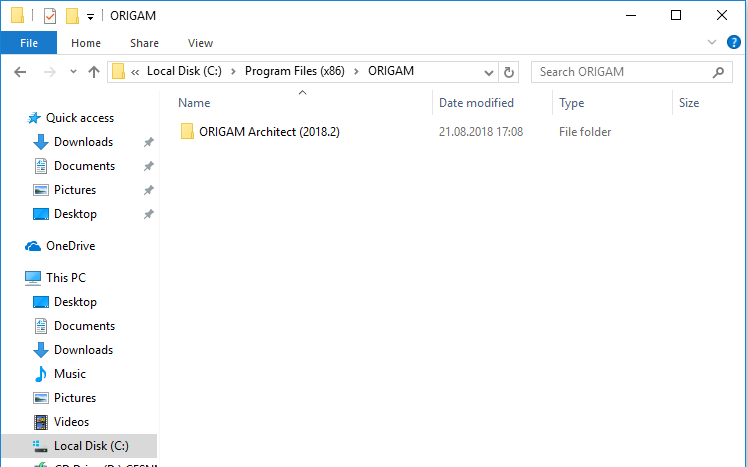
This is the result you will see in your file system. Everything is being installed into your Program Files\ORIGAM folder.
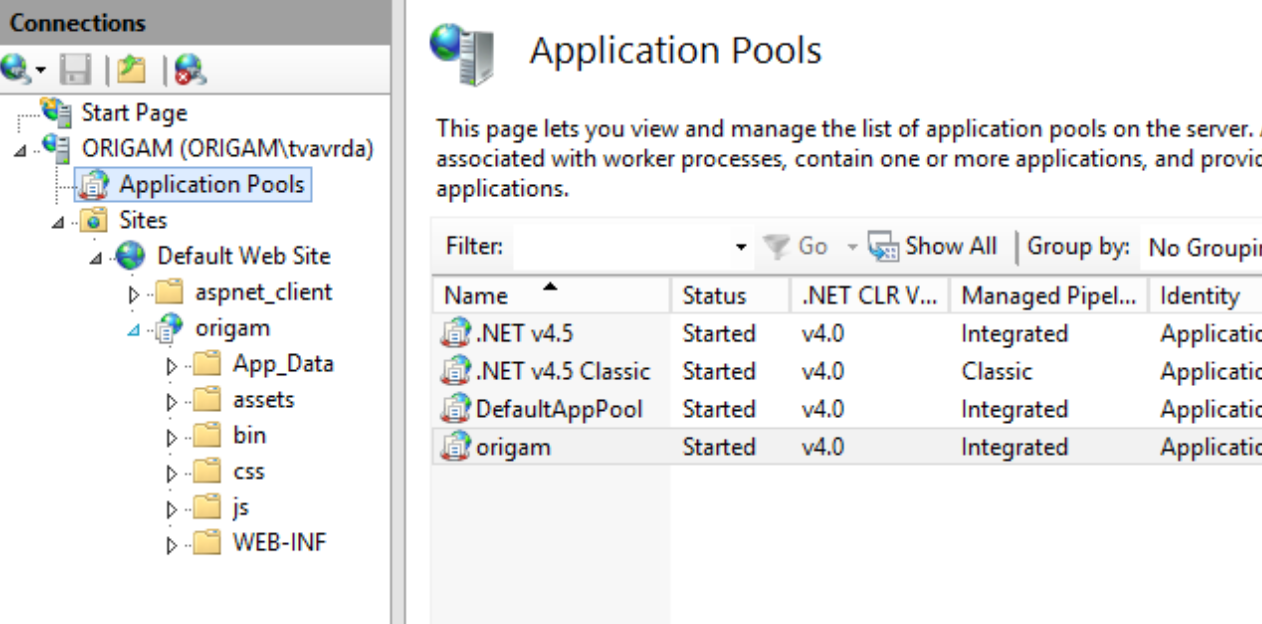
This is the result you should see in the Internet Information Services (IIS) Manager (in this case “origam” virtual directory under the Default website and the “origam” application pool):
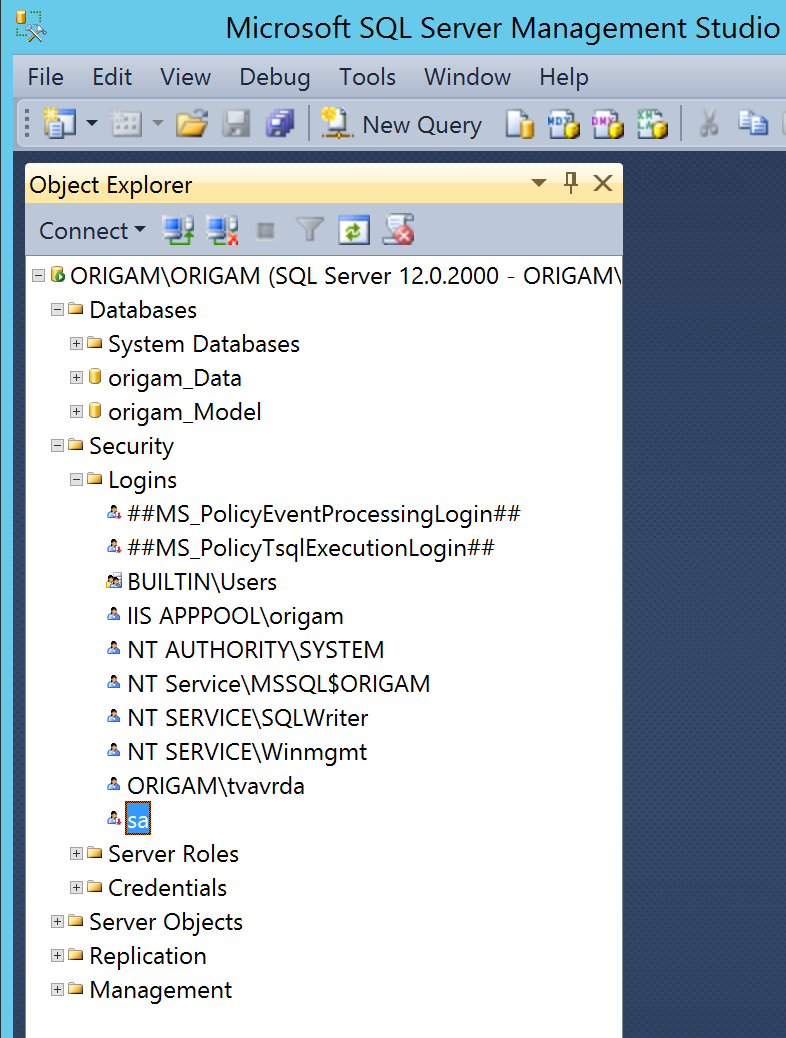
This is the result you should see in the SQL Server Management Console:
- origam_Data - a database that contains application data
- origam_Model - a database that contains the application model
- IIS APPPOOL\ORIGAM user - an IIS application user under which IIS will connect to the database (in case Windows Authentication was selected for the database access).