TabControl allows you to separate screen sections into different tabs to make the user interface more intuitive for the user.
-
In the User Interface Model open the screen that you want to work with or create a new one.
-
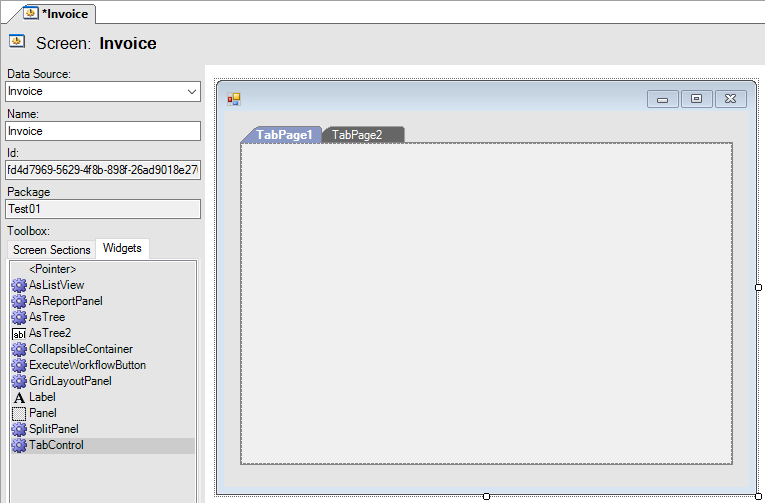
In the Toolbox select Widgets and then TabControl. By double-click or drag-and-drop place the element on the Design Surface and enlarge it for better manipulation.
-
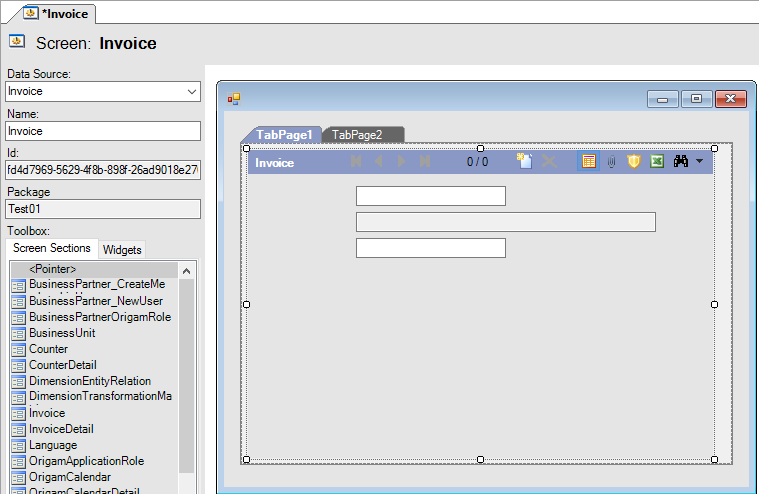
Click on the heading of one TabPage (the active one has a blue background). In the Toolbox > Screen Sections select one screen section and by double-click or drag-and-drop place it on the Design Surface. Repeat for the other TabPage.
-
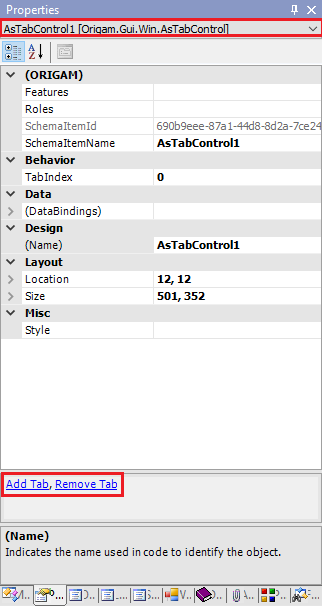
The TabControl widget opens with two tab pages. If you need more, go to the Properties view (keyboard shortcut F4) and in the drop-down list select AsTabControl1. This is an overview of settings for the whole widget and here you can add or remove tabs.
-
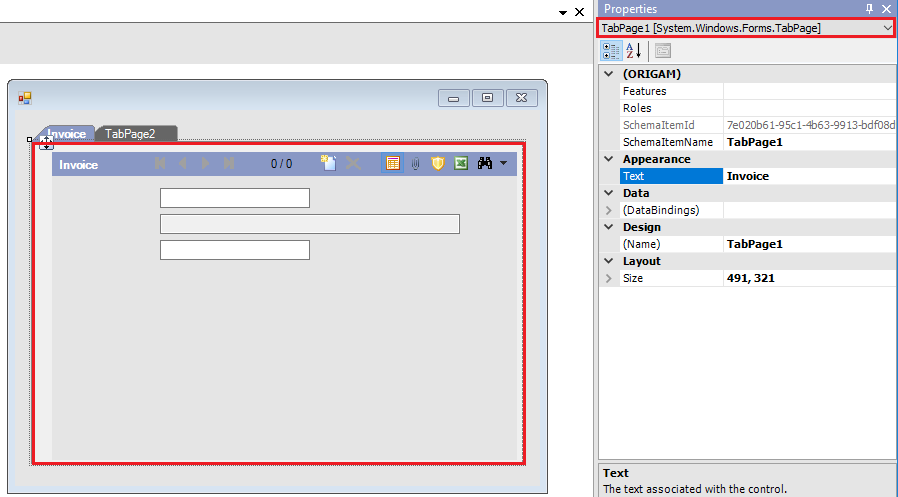
In the Properties window (keyboard shortcut F4) you can also change the text that shows in the tab heading. Either click on the border of the TabPage or in the drop-down list in Properties select the TabPage you want to rename. Write a new name in the Text field.
-
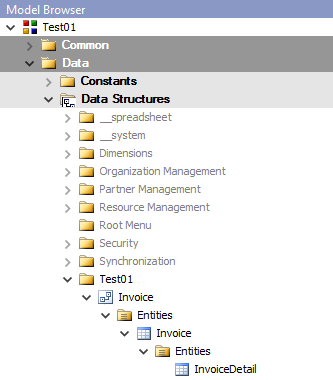
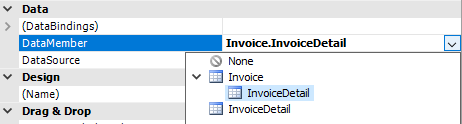
Check that all entities that are a base for the screen sections used in the tabs are in the data structure of the entity used as a data source of the screen. Also, check in the Properties that the DataMember field is correctly filled (points to the correct entity).