This short post will give you a starting point for an Android client application which can authenticate with Origam server and call internal OrigamAPI. The API will let you run workflows, get data and other things.
Origam server implements OAuth 2.0 so the best we can do when coding a custom client is to go to the official openid repository and start with their sample Android application. Note you can find sample applications for other platforms/languages there as well (iOS, js, php, python…)
Get the Server
You need access to a running Origam server and its configuration files. If you don’t have a running server instance yet you can download the installation files from here. You can search this forum for more details on how to install and configure the server.
Configure Server
If you have a local instance of the server and you’d like to test the authentication, this post can help you set up the server so that it is accessible on your local network.
From here on we will assume that you have done just that and the server is accessible at https://192.168.0.165:5000. If you are in fact working with a remote production instance of the server, use your server address instead.
Open appsettings.json file located in the server root directory and add the MobileClient sub-section into the IdentityServerConfig section. You can find some more details on how to choose the redirect and post logout redirect uri here.
"IdentityServerConfig": {
	"MobileClient":{
		"RedirectUris": [
			"net.openid.appauthdemo:/oauth2redirect"
		],
		"PostLogoutRedirectUris": [
			"net.openid.appauthdemo:/oauth2redirect"
		]
	},
Get the Android Application
Clone the sample Android openid application from the official repository and open it in Android Studio.
Configure the Android Application
All you have to do is edit the configuration file AppAuth-Android/app/res/raw/auth_config.json. Paste this into the file:
{
  "client_id": "origamMobileClient",
  "redirect_uri": "net.openid.appauthdemo:/oauth2redirect",
  "end_session_redirect_uri": "net.openid.appauthdemo:/oauth2redirect",
  "authorization_scope": "openid IdentityServerApi offline_access",
  "discovery_uri": "https://192.168.0.165:5000/.well-known/openid-configuration",
  "authorization_endpoint_uri": "",
  "token_endpoint_uri": "",
  "registration_endpoint_uri": "",
  "user_info_endpoint_uri": "",
  "https_required": false
}
Note the server address at the discovery_uri. The https_required is set to false because we assume we have a local development server instance with a development ssl certificate. It would be set to true in production. Also note that the redirect_uri and end_session_redirect_uri in the server config correspond to RedirectUris and PostLogoutRedirectUris in the client config respcetively. Details on the individual fields can be found here.
Connecting to the Server
When you open the application, you will see this screen
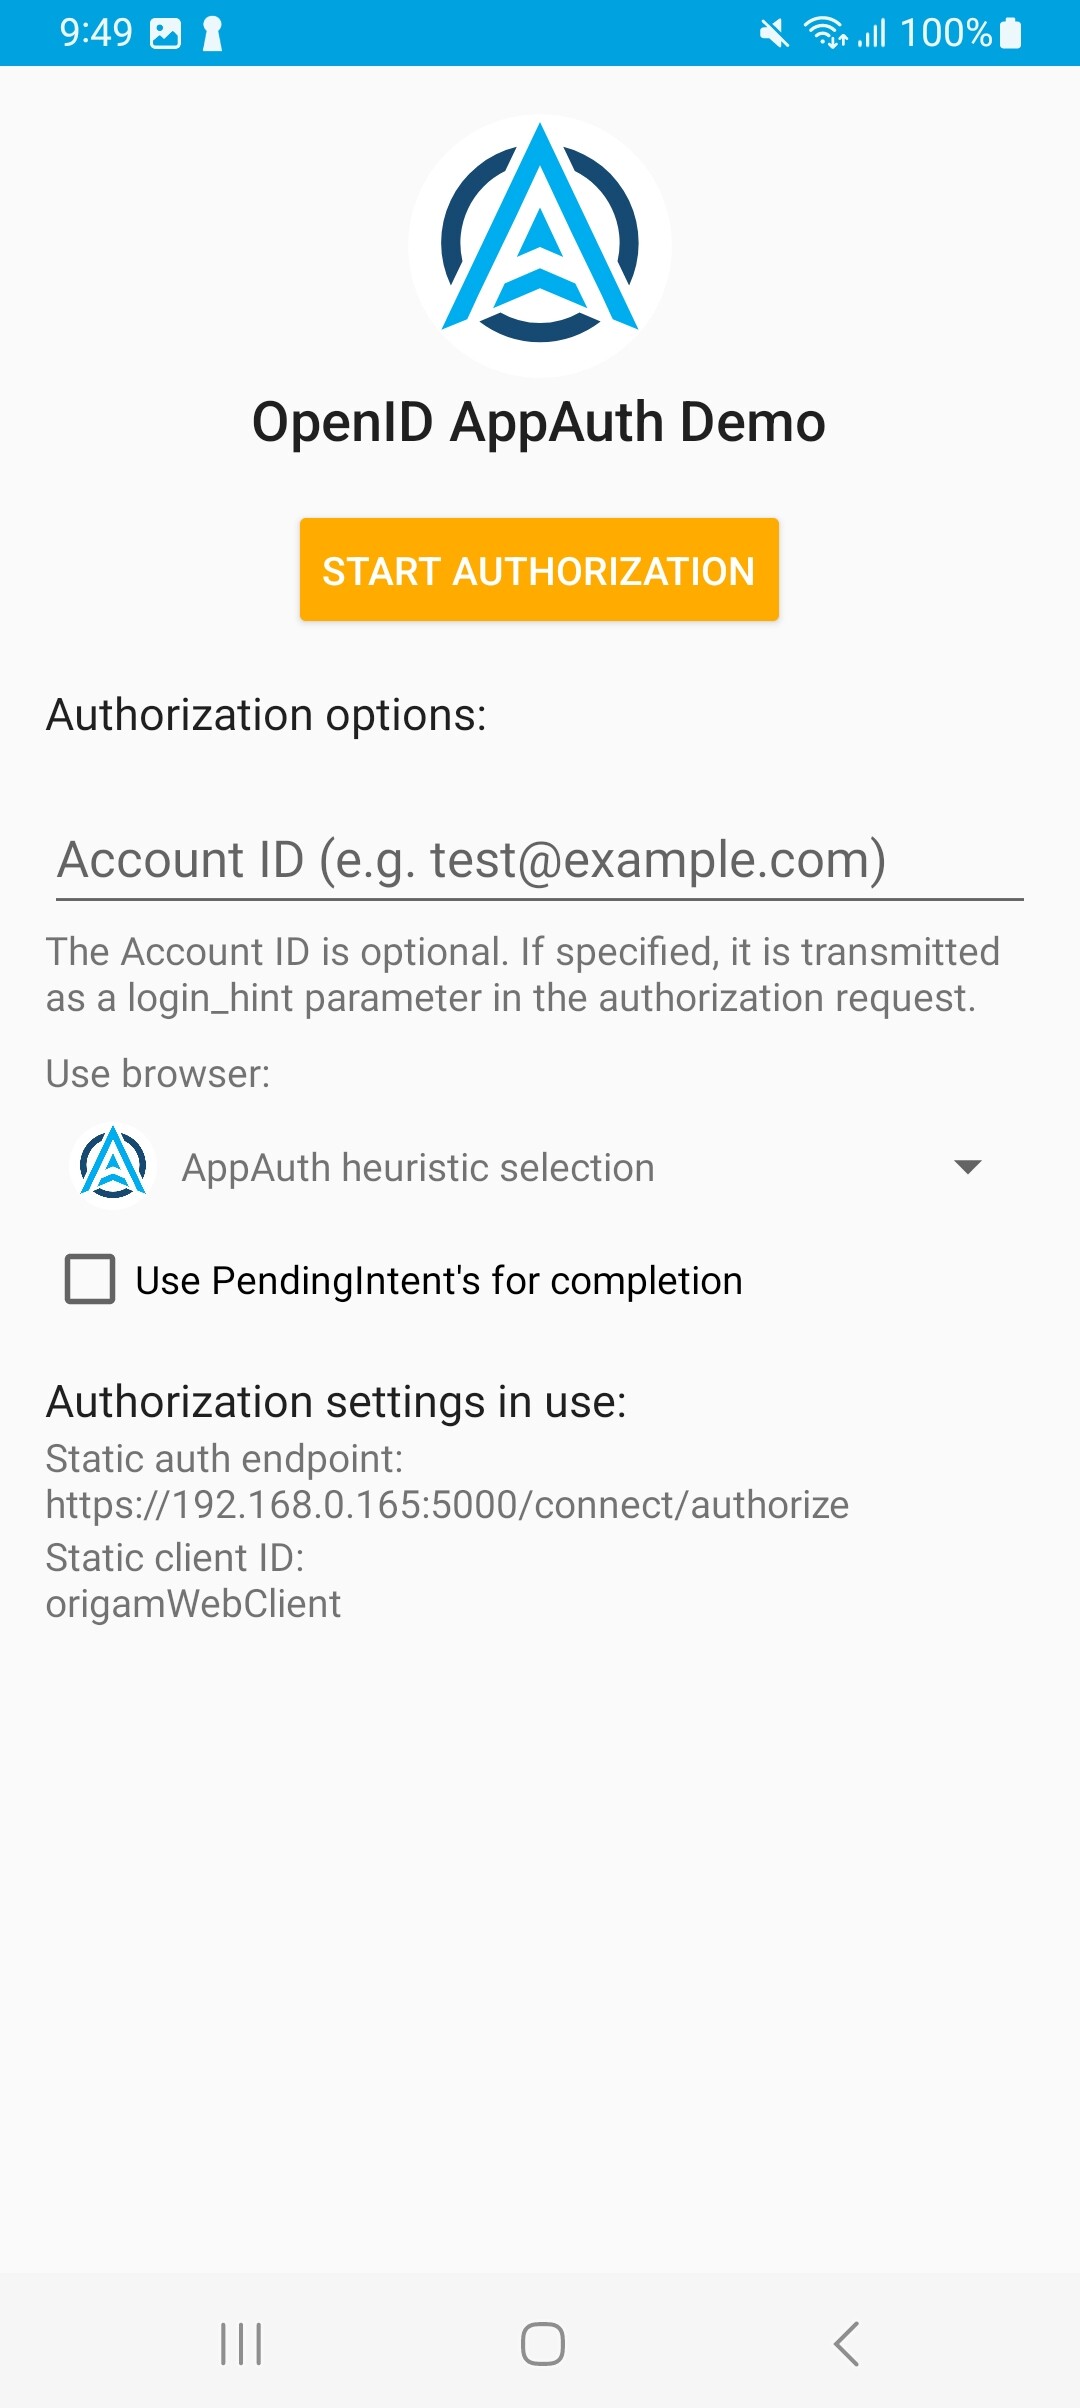
Tap the START AUTHORIZATION button and a browser view with Origam login should appear
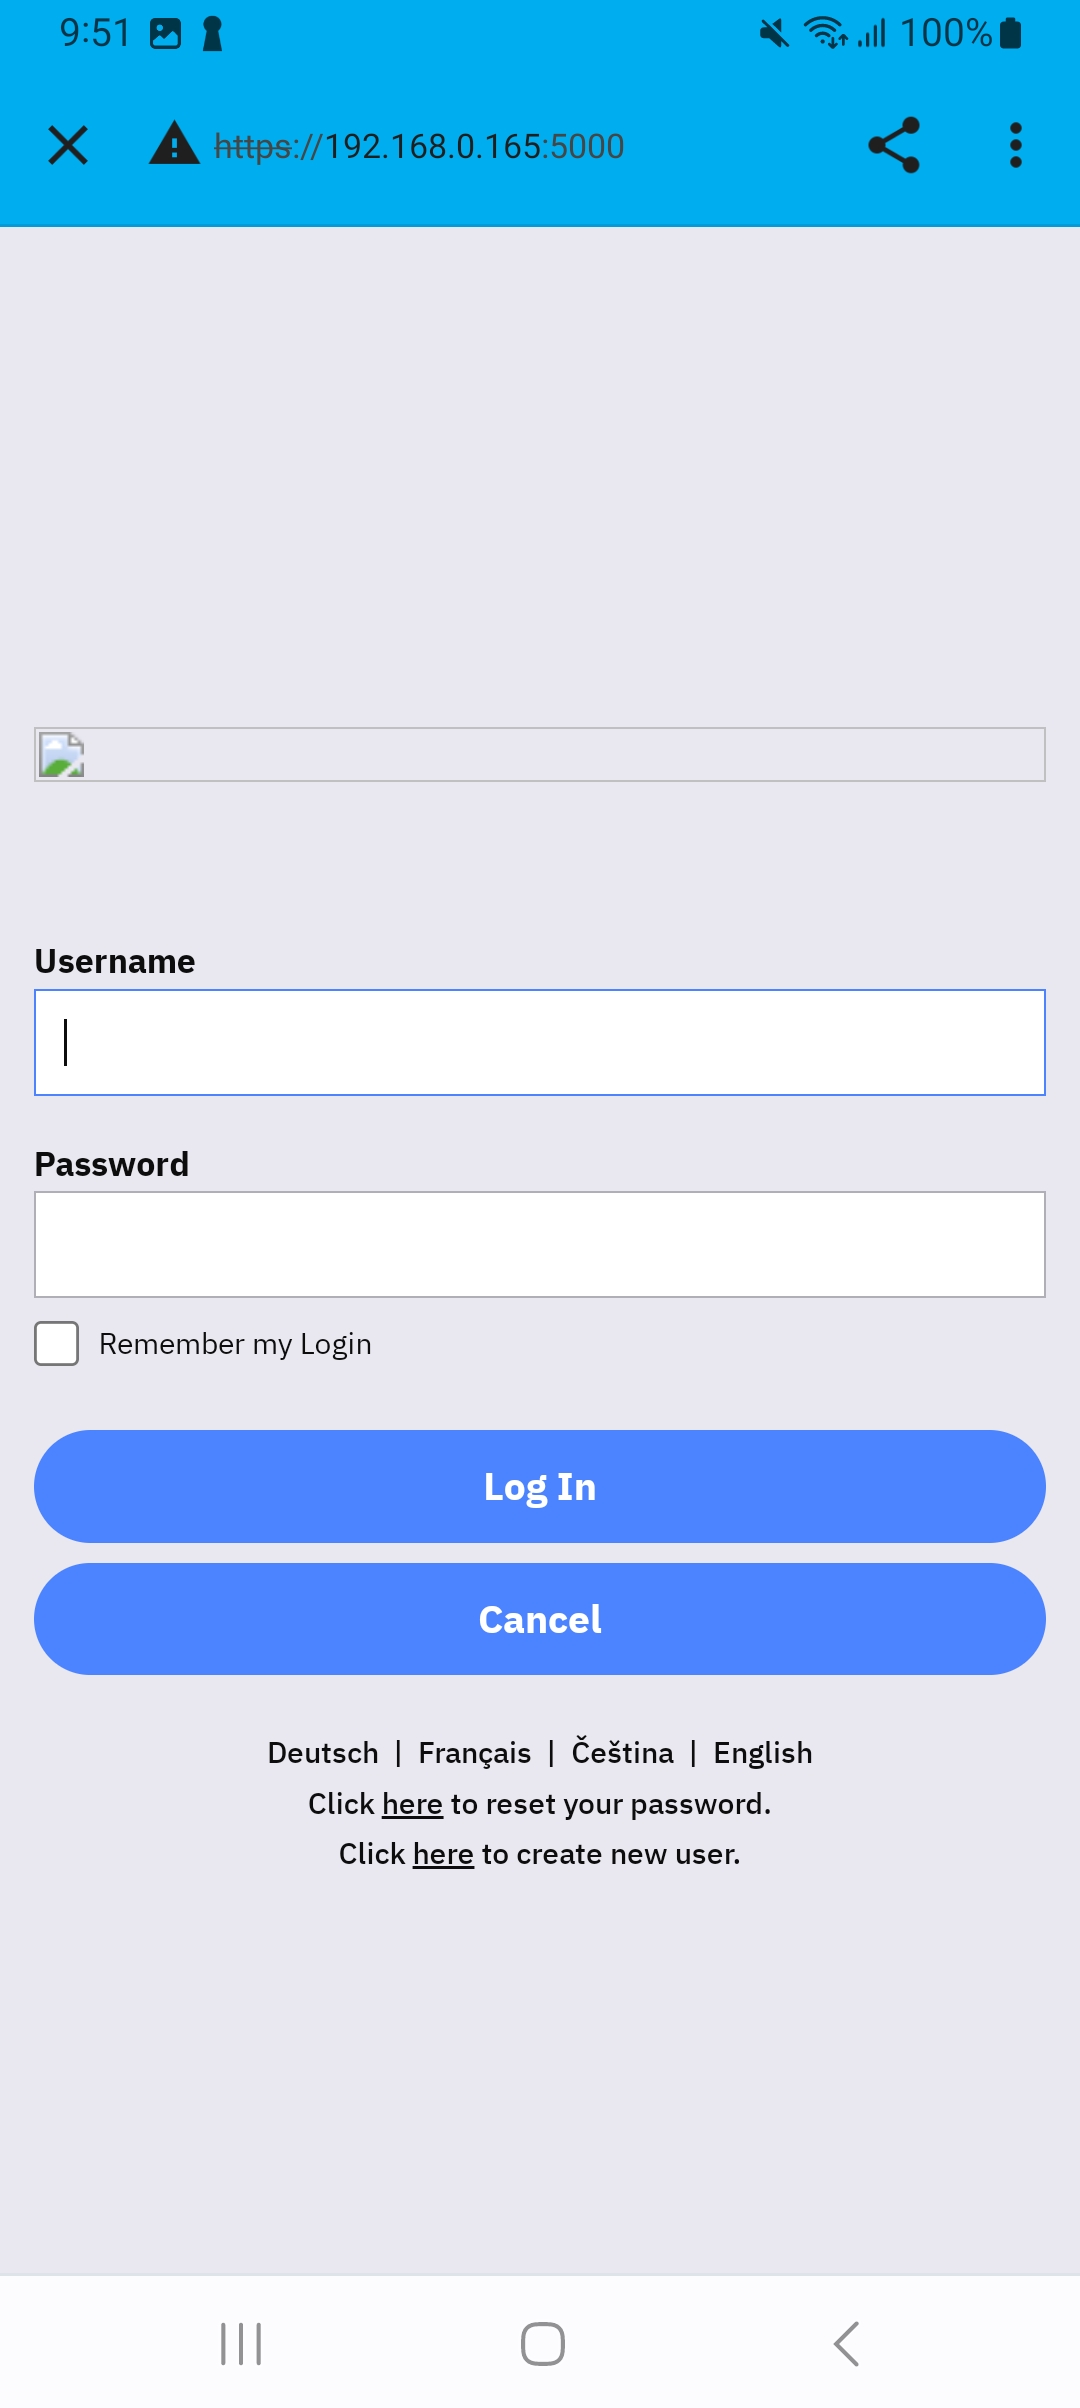
After you input your name and password you should see this screen
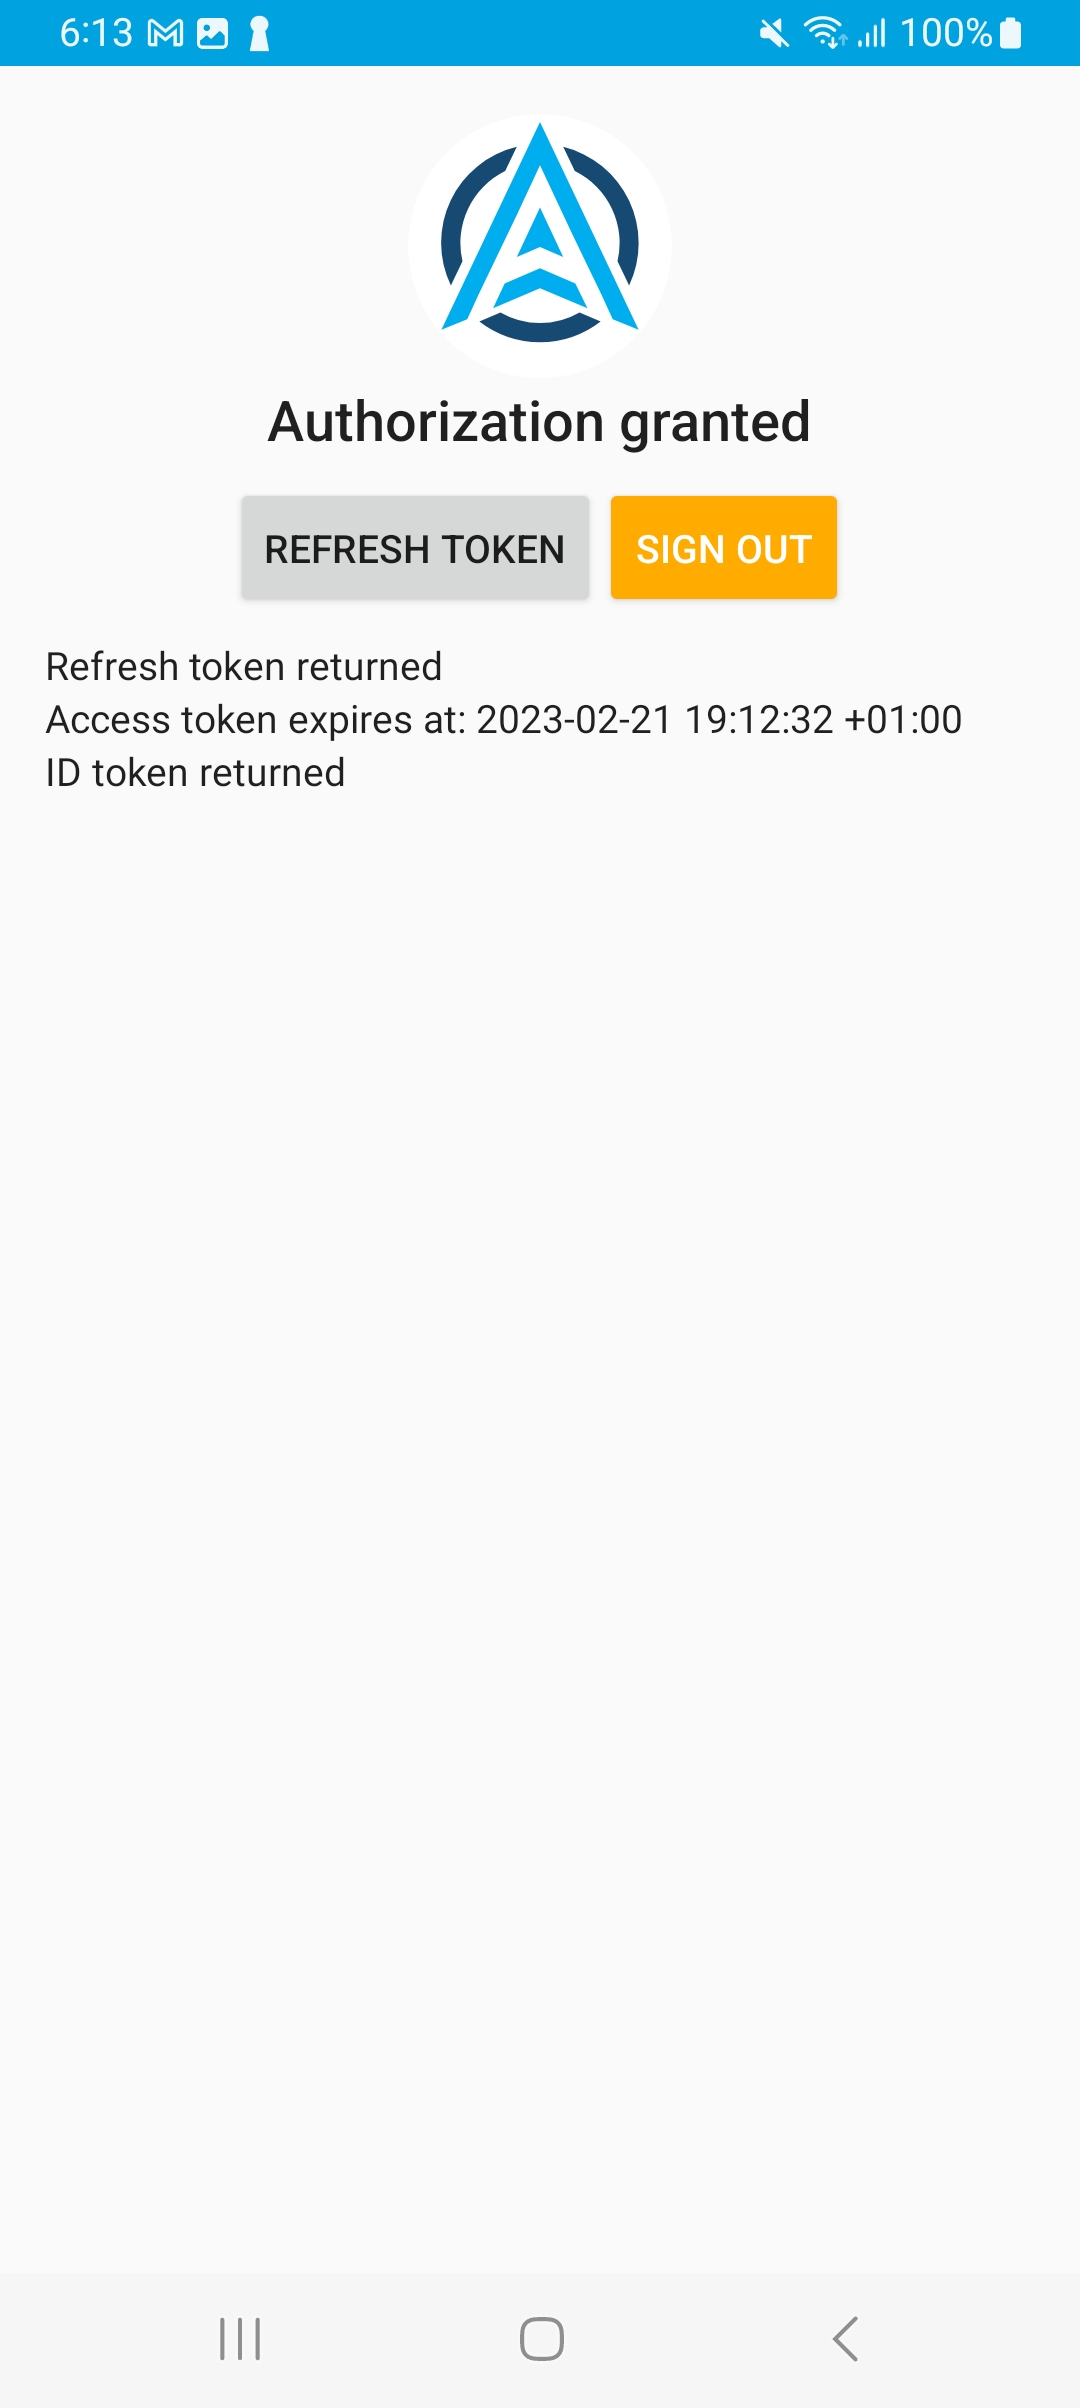
That is it. Now you have an access token which you can use to access Origam internal API.