In this chapter, you can see the steps performed by a New Project wizard so you can understand the background. It is also possible to set up ORIGAM application manually this way.
Preparation
In this step, you will prepare for the web application setup.
- Install prerequisites
- Download the installation files.
- Under Inetpub folder create a new folder, e.g. “origam” (typically c:\inetpub\origam).
- Copy the downloaded files and folders into the new folder.
Create an Application Pool
In this step, you will prepare an application pool under which the web application will be running.
-
Open IIS Manager
-
Navigate to the Application Pools folder
-
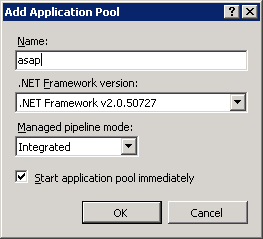
Select Add Application Pool on the right-side panel
-
Set the .NET Framework version to 4.0 and Managed pipeline mode to Integrated and press OK.
-
Then select the application pool and click on Advanced Settings on the right side panel.
-
Set Idle Time-out (minutes) to 0 if you want your web application to run continuously.
-
Set Recycling - Regular Time Interval (minutes) to 0 if you want your web application to run continuously.
-
If you are familiar with advanced application pool settings, make further optimizations. See Managing Application Pools in IIS 7.

Create a Website
In this step, you will finally create the web application.
- In the IIS Manager navigate to the Default Web Site folder
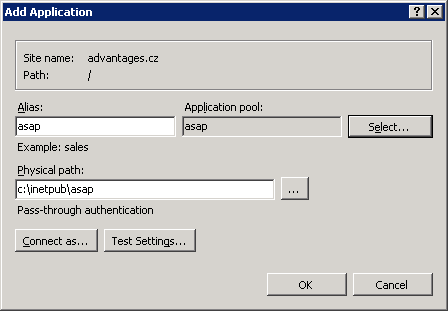
- Right-click and select Add Application
- Set Alias to any name under which you want to access the application. This will be the part of the URL.
- Press Select and select your application pool (origam).
- Set the Physical path to the folder you created before (c:\inetpub\origam).
- Press OK
Now your ORIGAM application is installed and you can continue to Database Setup.