There are two big changes in Master release of Origam introduced in build 4811 (June 2018). The first one is renaming of old name space from CZ.Advantages.Asap to Origam and all other occurrences of the word Asap to Origam inside of the Origam application. The other change is a new feature enabling users to store models in xml format. Storing model in many xml files makes it easy to integrate a versioning program like GIT to your model development.
The Asap to Origam renaming affects all existing models so when you upgrade to new Origam version you will have to rename entries in you model database. The conversion of model to xml files is optional.
Following demonstration will show you how to update Origam packages as well as you own packages so that they work with the new release and how to convert them to xml files.
New project
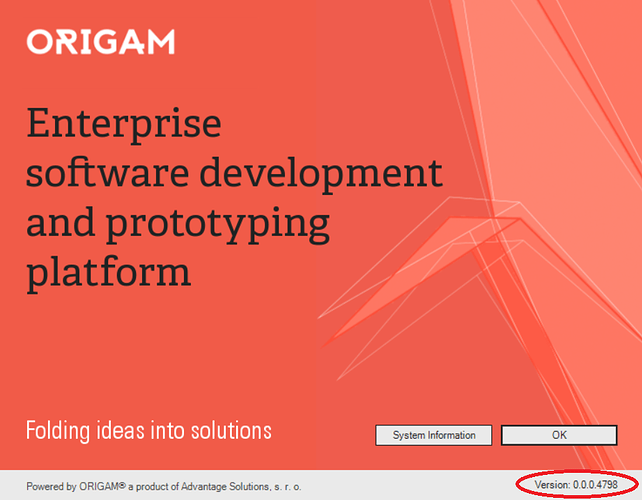
We will start with a new project created in a pre 4810 build. You can check you architect version by clicking Help → About…
To create a new project click File → New Project …
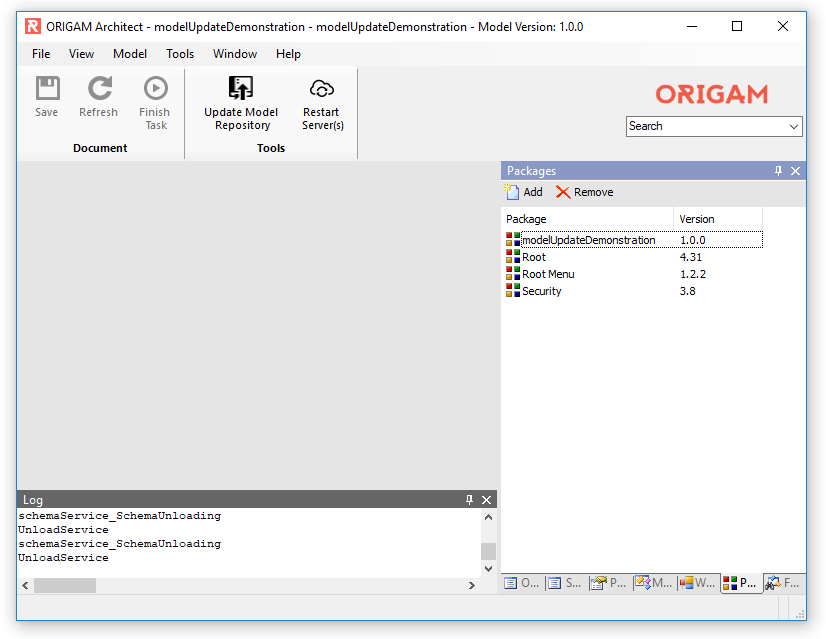
A project wizard will pop up. We will create a new project using default settings. The created project should look similar to this:
Note Root package version is 4.31 and Security package version is 3.8.
Renaming the model
Now we can close the old release of Architect. Before we open the new one (build 4811 or later), we have to create a new OrigamSettings element in OrigamSettings.config in the new Architect’s directory. To do that we first open the old Architect’s AsapSettings.config. This file is usually located here:
C:\Program Files (x86)\ORIGAM\ORIGAM Architect\AsapSettings.config
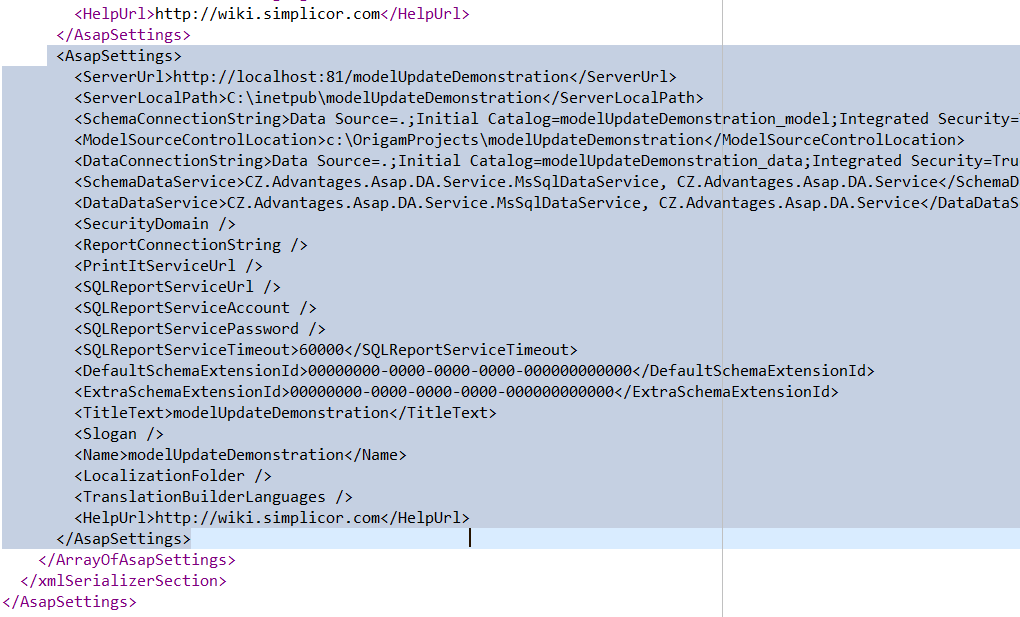
You should find the created project’s settings at the end of the file:
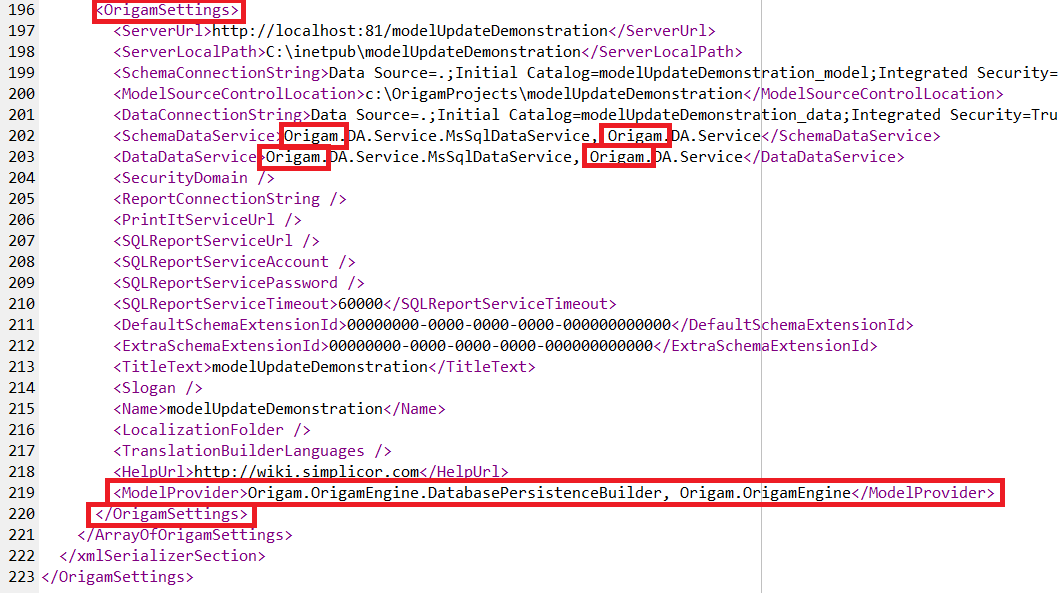
Copy it to the OrigamSettings.config found in the new Architect’s directory and replace all occurrences of CZ.Advantages.Asap and Asap with Origam. Then you have to add Model provider element:
<ModelProvider>Origam.OrigamEngine.DatabasePersistenceBuilder, Origam.OrigamEngine</ModelProvider>
The result in OrigamSettings.config should look like this:
Repeat the process (renaming and adding the Model provider element) also for the AsapSettings.config file in your project’s server folder, e.g. C:\inetpub\modelUpdateDemonstration\AsapSettings.config.
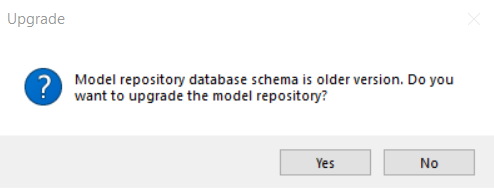
When you run the new Architect you should see the new project in Select Configuration pop up. After you select it and click Ok, an upgrade question pops up.
. version
Click Yes to run upgrade scripts and open the project. The scripts we just ran renamed among other things all data of packages Root, Root Menu and Security in column TargetType in table SchemItem.
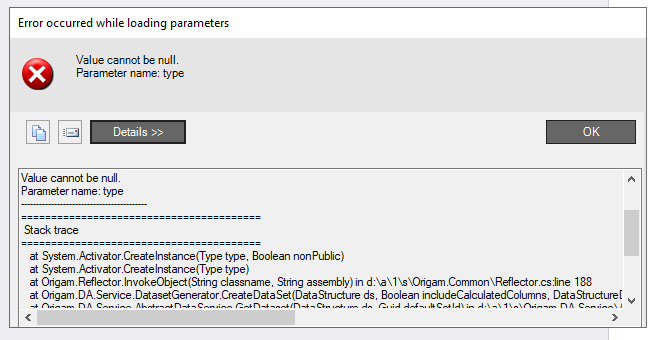
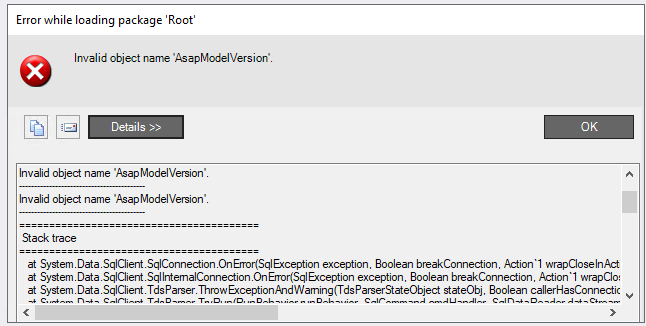
To make the project work we have to first upgrade the Root package (you can download the Root package from the Stable 2019.1 version and unpack it to your project folder). Double click the Root package, this will cause an error message to pop up:
This error is expected. Next click File → Import Single Package … and select new Root.xml
Make sure the Root.xml file is part of a model corresponding to the new Architect (build 4811 or newer).
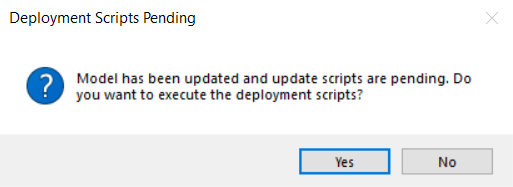
Wait until the file is loaded and double click the root package again. A confirmation pops up…
Click Yes to upgrade the package.
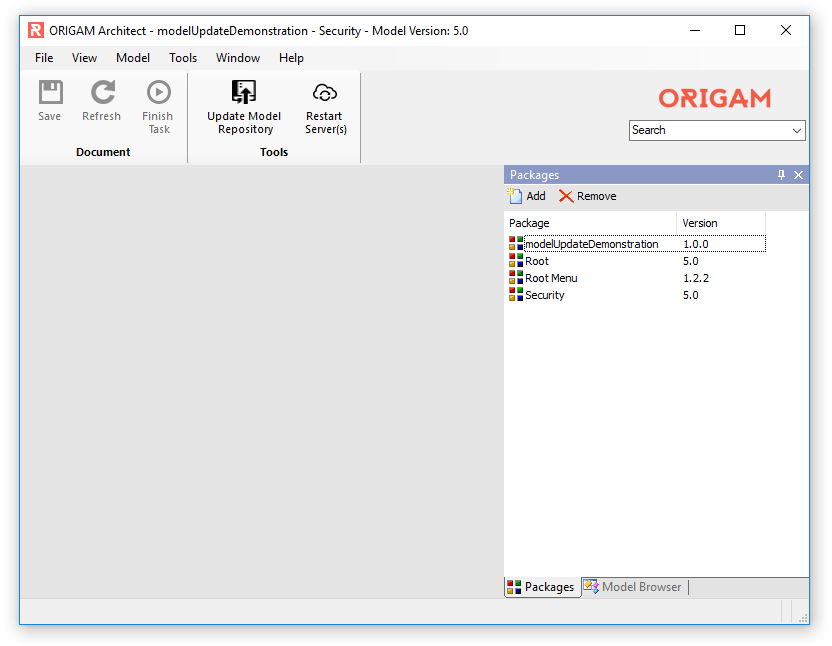
Repeat the process for Security package. After you do, you should see that both package are in version 5.0.
The project should work in the new Origam version now.
Conversion of Model Storage to File System
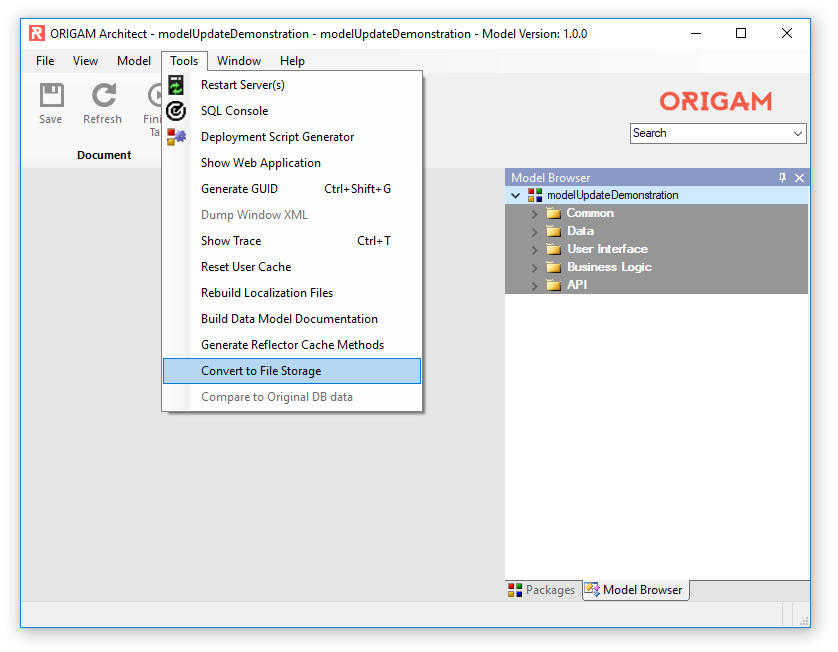
Open package modelUpdateDemonstration and click Tools→Convert to File Storage.
The output directory can be set in OrigamSettings.config by editing text of element ModelSourceControlLocation.
![]()
To open the generated project we have to add a new OrigamSettings element to OrigamSettings.config. Best is to duplicate the original data base based project settings and edit them. The most important is to change ModelProvider element so that it points to FilePersistenceBuilder.
When you save the OrigamSettings.config and restart restart Architect you should see the xml based project in the Select Configuration pop up.
