One of the key uses of Git is enabling multiple people to collaborate on a single application, but this is outside the scope of this article. Likewise, we will not cover he topic of using remote repositories such as GitHub, GitLab, or BitBucket.
The only thing we will show here in this regard is the basic creation of a remote repository in GitHub and sending a copy of the local repository there.
If you’re completely new to Git, you may find this and this video helpful.
How to install Git
In this article, we will demonstrate two different ways to use Git: via the command line (Git Bash) and through an application with a graphical user interface (TortoiseGit).
Here’s some basic information about both tools, along with links to download them if you don’t already have them installed.
Git with command line only
Here are the download links and general instructions on how to install Git on any operating system.
For this guide, we will use Git for Windows, which you can download here.

TortoiseGit application
TortoiseGit is a Windows Shell Interface for Git and is based on TortoiseSVN. It’s open source and can be fully built with freely available software. You can download it here.

Now that we have Git installed, let’s explore how to use it.
Git repository creation
When creating a new project, a local Git repository is automatically created for you, provided that you leave the relevant option checked.

In this case, an invisible .git directory is created in your project folder. This is where all Git’s internal data is stored.
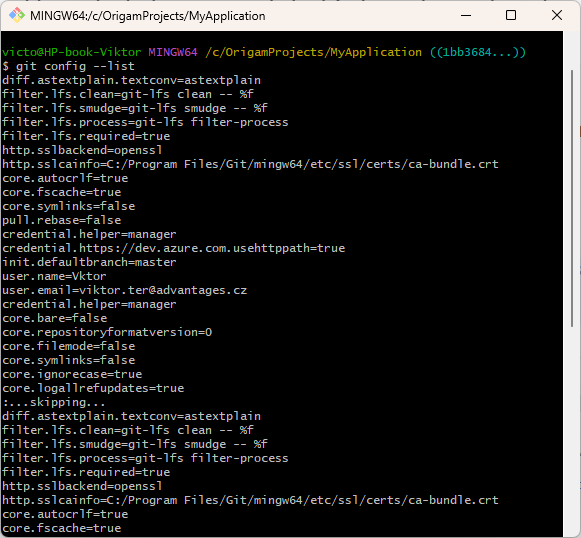
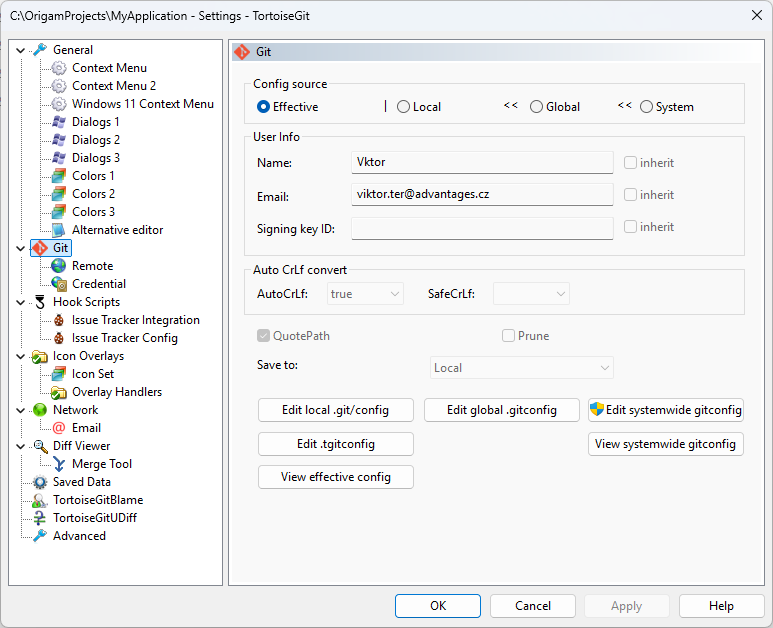
Git setup
When creating a new project, and if you enable the automatic creation of a new Git repository in the wizard, the system will also configure Git for you and set up your name and email. If you are setting up Git manually, you will need to use the git config command or use the Settings in TortoiseGit.
The most important thing is to have your name and email set up. However, if you are working on your application alone, these settings are not absolutely crucial.
Initial version
If you let the wizard create the Git repository for you, the initial version of your application is automatically created as well. If not, you will need to use the command git init.
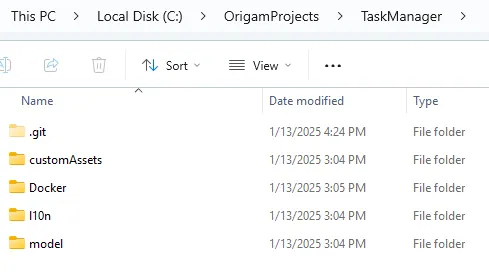
Git is associated with your ORIGAM project folder, which, for example, can be found at C:\OrigamProjects\MyApplication. This assumes that you are using the default folder C:\OrigamProjects\ and that your application is named MyApplication. If you have named any of these differently, the path to your project folder will naturally differ.
Now, let’s check the initial version.
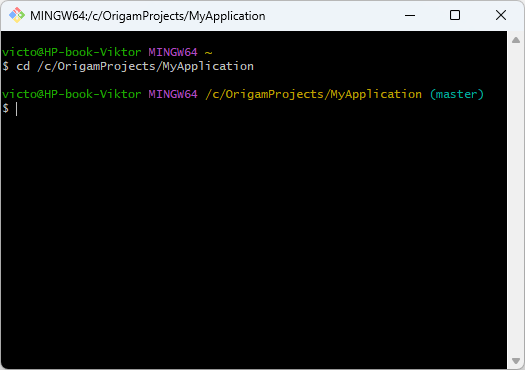
GitBash
To verify the initial commit, navigate to the directory where your project is located, for example, by using this command:
cd /c/OrigamProjects/MyApplication/
Now check if the initial version, the initial commit, has been created:
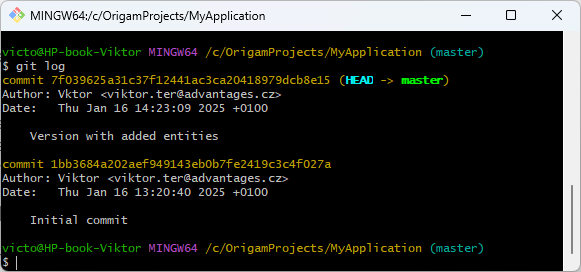
git log
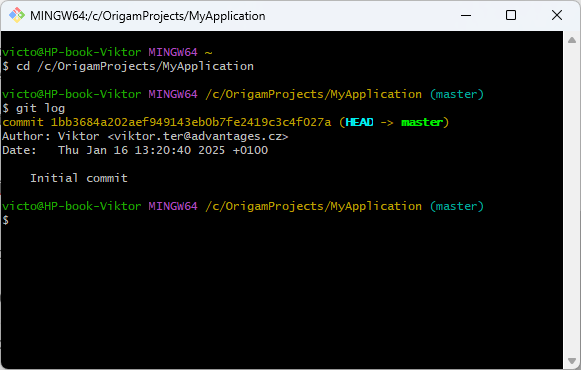
You can use this command anytime to view your saved commits.
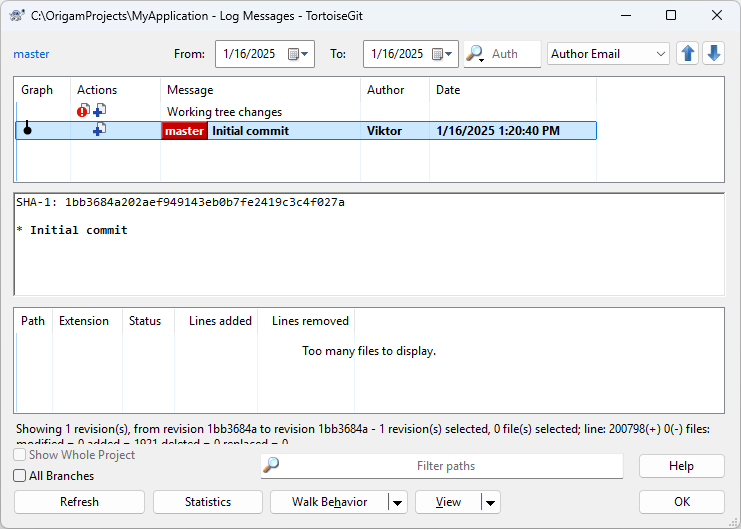
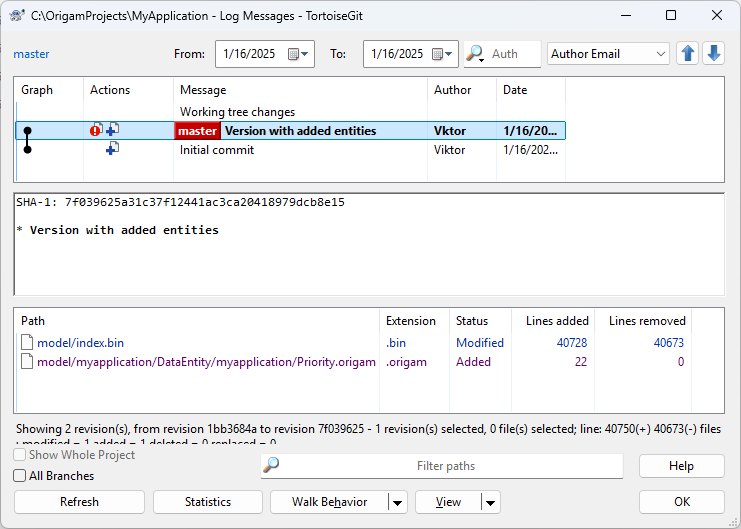
TortoiseGit
In TortoiseGit, use the Show log option in the directory where your project is located. The log will look like this:
Tracking changes
While developing your application, it may be useful to save versions continuously so that you can potentially revert to earlier versions. For example, you can save a new version whenever you start working or before you make any major changes.
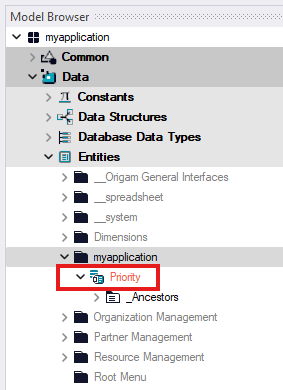
You can see changes not yet saved in Git by observing the object names in red in the model browser. For example, here is the new entity Priority:
Git can also show you changes, as can TortoiseGit.
GitBash
In GitBash, simply enter this command:
git status
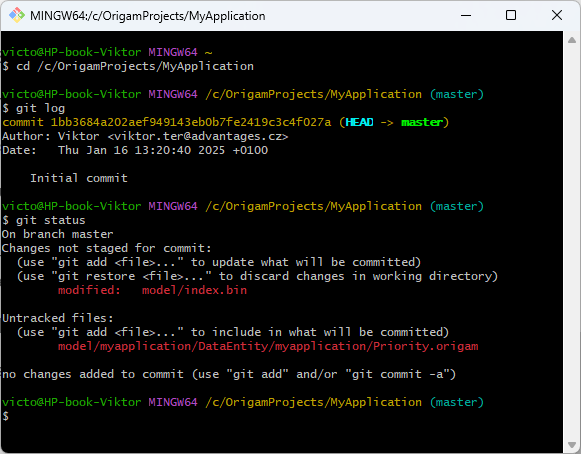
This command will give you an overview of the files changed since the last version. You’ll be able to see anything that was added, deleted, or modified.
Saving new versions
Whenever you make significant updates or simply feel the need, you can save a new version of your application with Git. This will serve as an anchor point, allowing you to return to it if needed.
GitBash
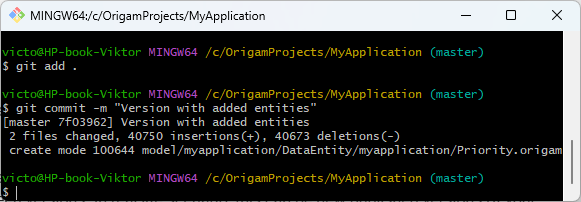
git add .
This command will add all changes to the new version. Then, create a new commit with those changes:
git commit -m "Version with added entities"
The text in quotes is your comment on the version, which helps distinguish between different versions and commits. In a real-world scenario, this could correspond to a new published version of your application or a specific development sprint.
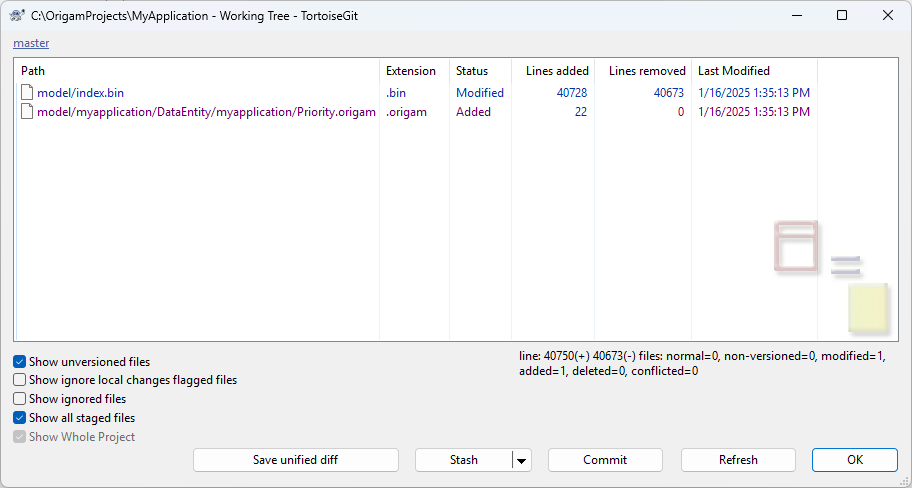
TortoiseGit
In TortoiseGit, simply use the Commit option in the appropriate directory, and enter your message in the window:

Viewing saved versions
If you need information about which versions of your application have been saved, you can list them. Your notes for each version will be helpful here.
Loading saved versions
If you need to revert to an older version of your application, your versioning efforts will pay off.
Important notice:
Before reverting to an older version, please ensure that ORIGAM Architect is shut down. After setting the desired version, restart Architect and load your project again.
Git Bash
In Git Bash, use this command:
git checkout master
git revert <commit-id>..HEAD
The entire string <commit-id> should be replaced with the commit ID.
For example, to return to this commit you see in git log:

You will use:
git checkout master
git revert fc08babd988e5b084aa0bdd966cfc4fc7af50bdb..HEAD
In case you just want to go back to your last saved version, in other words discard all changes, you will use the following command:
git reset --hard HEAD
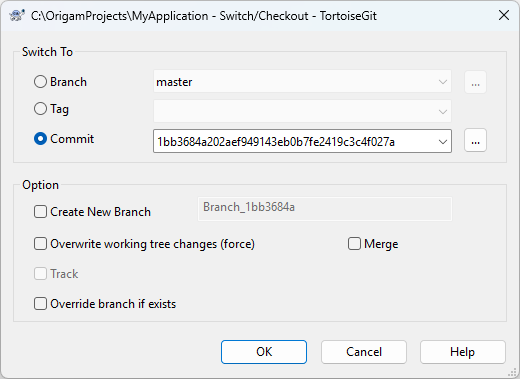
TortoiseGit
In TortoiseGit, use the Switch/Checkout option and select the version you want to load using its ID.
Please note that reverting to an older version will not affect newly added files in the repository; these will still need to be deleted. More details on this are available here.
Remote repository in GitHub
If you want to create a remote repository on GitHub and synchronize your local repository with it, here is a brief guide on how to do it.
![]() Before sending your code to the remote repository make sure there are no changes in the code stored there using the
Before sending your code to the remote repository make sure there are no changes in the code stored there using the git pull command or function.
Git Bash
In Git Bash, use this commands:
git remote add origin https://github.com/my-user-name/my-project.git
This command adds a remote repository on GitHub (with the URL https://github.com/my-user-name/my-project.git) to the configuration of the local Git repository under the name “origin.”
The result is that your local repository is linked to the repository on GitHub, allowing you to synchronize changes (e.g., pushing or pulling code).
git push -u origin master
Pushing for the first time?
When you push for the first time, Git will ask you to enter your username, under which your account is registered, and your password. The password is actually your Personal Access Token (PAT), which you must first generate, e.g., via GitHub in Settings / Developer Settings / Personal Access Tokens. When using SSH instead of HTTPS, you will need an SSH key.
When generating a PAT, you also set its validity date. If that expires, you need to generate a new PAT, because Git will not serve you with an expired PAT.
This command pushes all commits from the local “master” branch to the remote “origin” repository (on GitHub) to the “maste”’ branch. The -u (or --set-upstream) option sets the “master” branch as the default for future git push and git pull operations.
The result is that your changes (files and commits) are stored on GitHub in the “master” branch, and the local ‘master’ branch is linked to the remote “origin/master” branch.
TortoiseGit
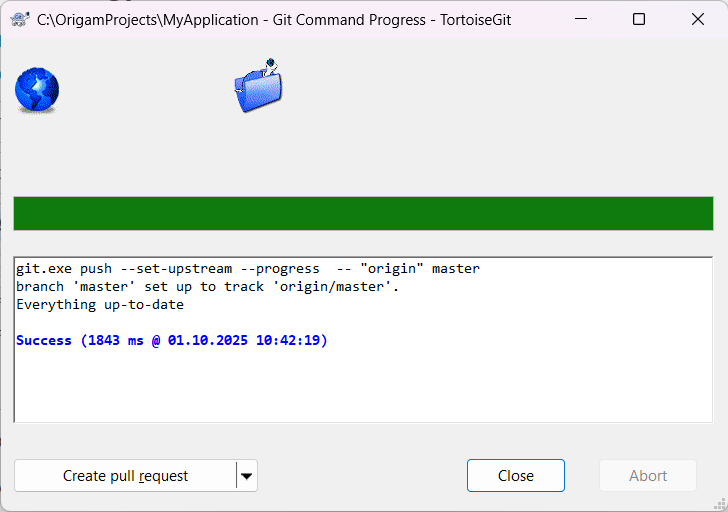
In TortoiseGit you will use the Syncfunction and the Push command:
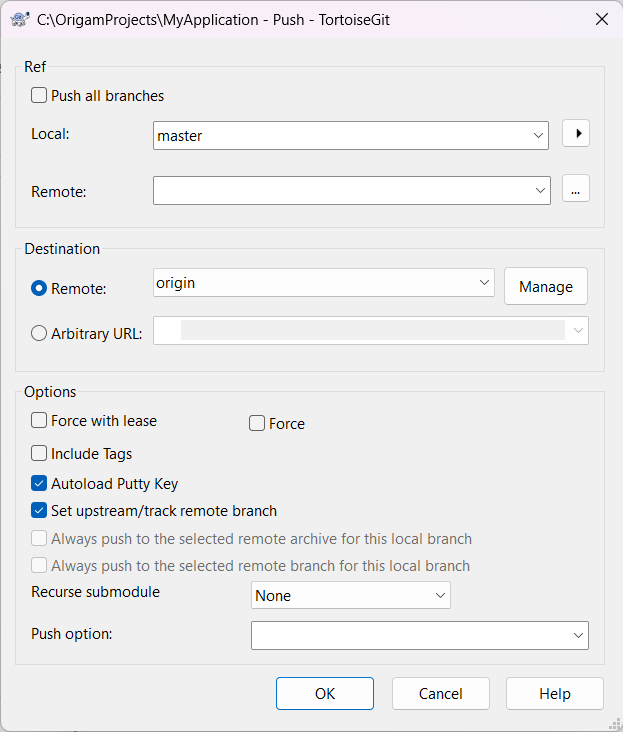
Important is to set the right source branch and the right destination.
If everything is okay, this is what you get:
More commands
These are the basics of using Git. To learn more commands, check out this article or see comments below which we incrementally adding new use cases to.
Git client alternatives
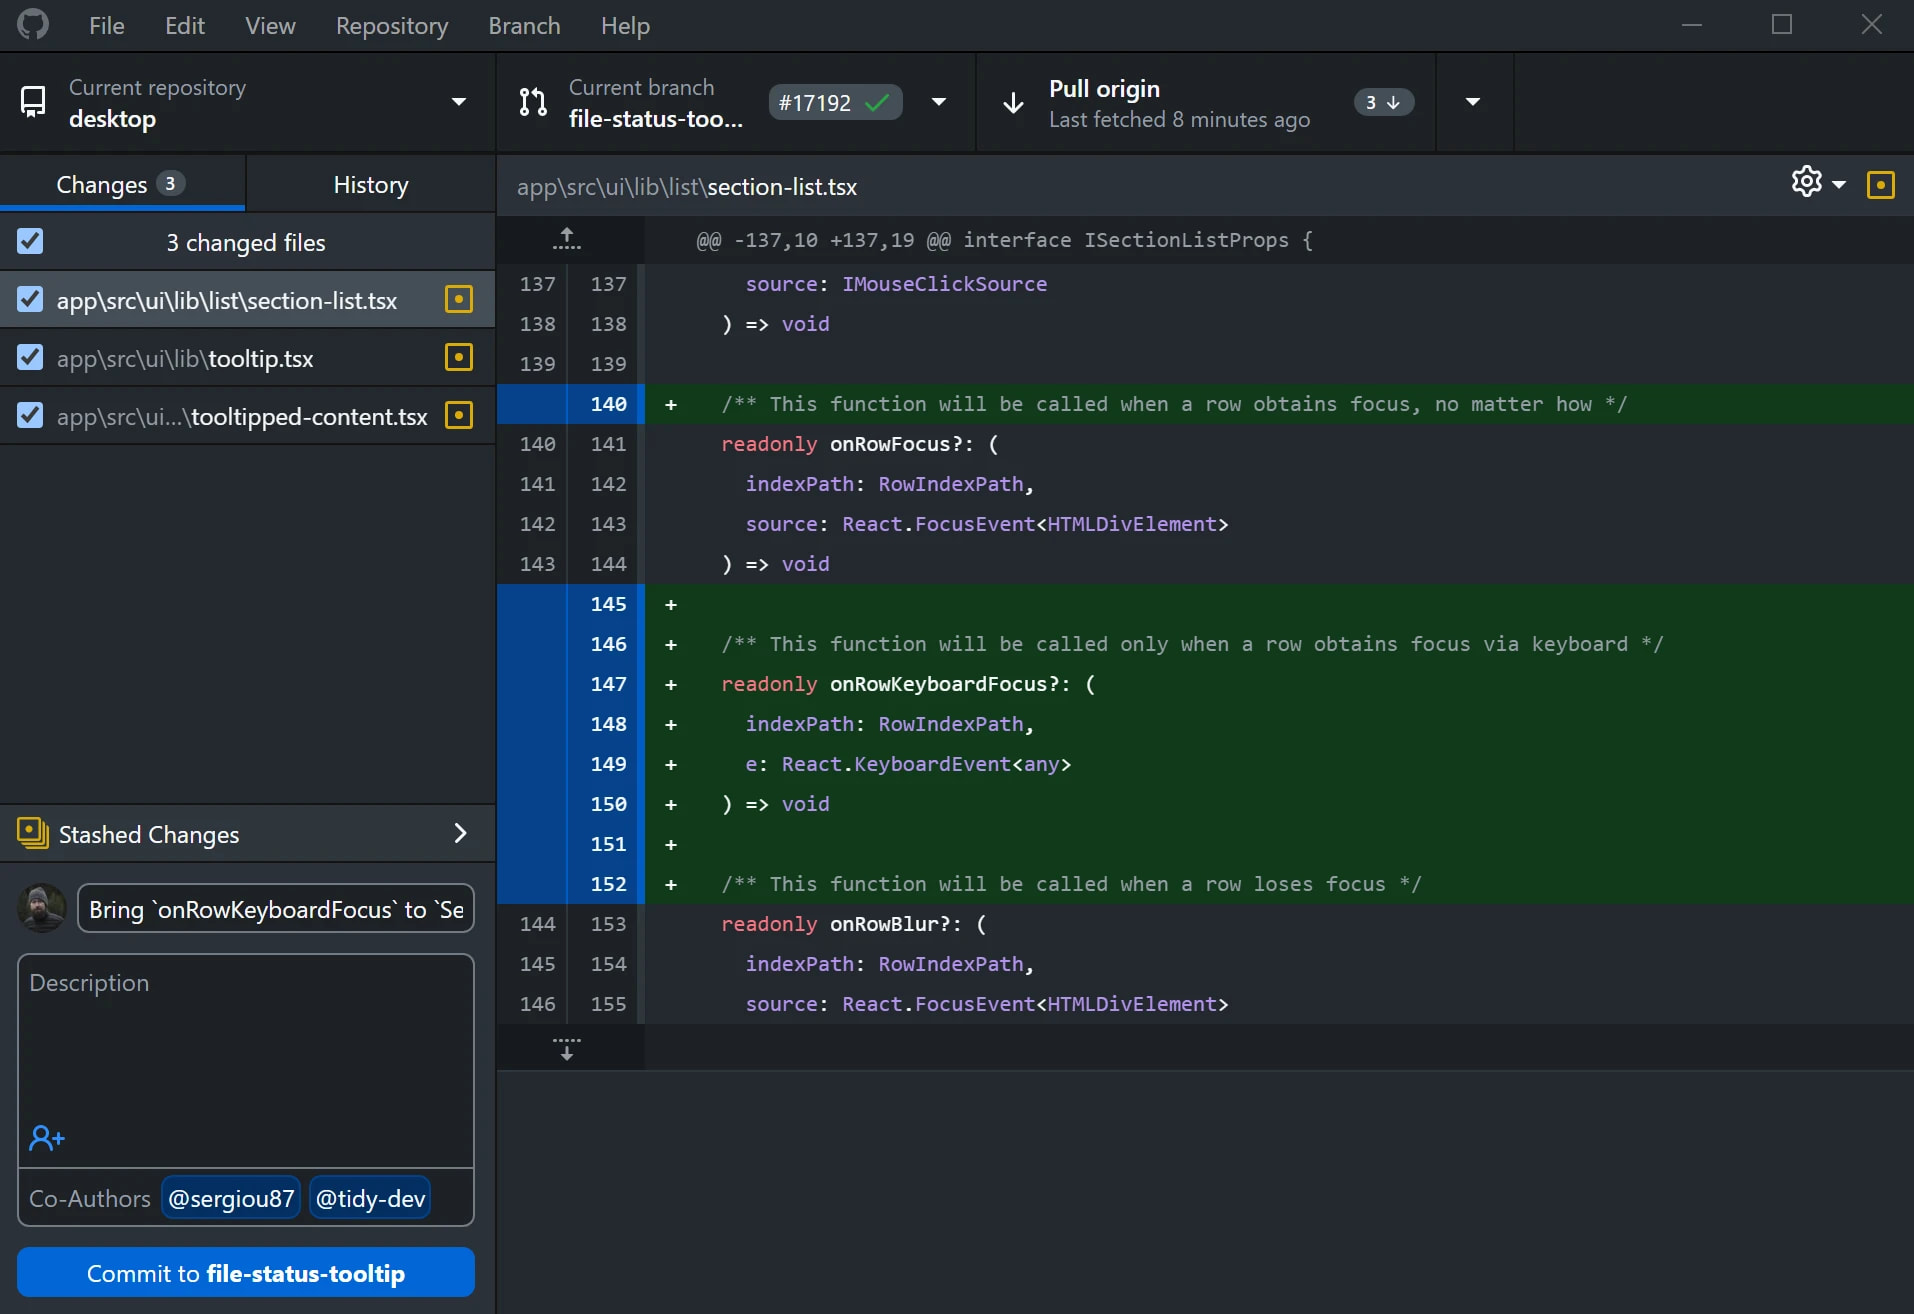
GitHub Desktop
An interesting alternative to both the command-line interface (CLI) and TortoiseGit is the GitHub Desktop application, which promotes itself as “Experience Git without the struggle”.
It is available for both Windows and MacOS and it offers a very convenient graphical interface for performing tasks such as:
- Creating a new commit
- Viewing existing commits and their contents
- Pulling from and pushing to a remote repository
- Cloning an existing repository on GitHub