This tutorial will guide you step by step through the process of setting up a new project in ORIGAM Architect.
[!success]- Prerequisites for further work
To proceed, you need:
Run the wizard
You can find the option to create a new project – that is, a new application or system – in the main menu under File.
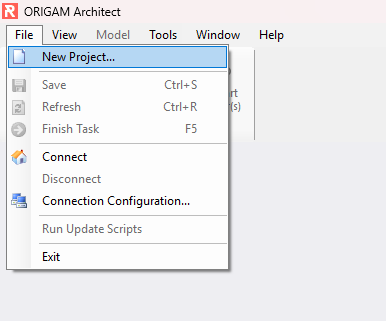
When you launch Architect for the first time, the wizard for creating a new project will start automatically.
Name your project
Enter a name for your project. Be sure to choose the name carefully, as changing it later will be very challenging.

Connect the database
The next step is to configure the database connection. In this example, we will use an MS SQL server running locally in a Docker container.
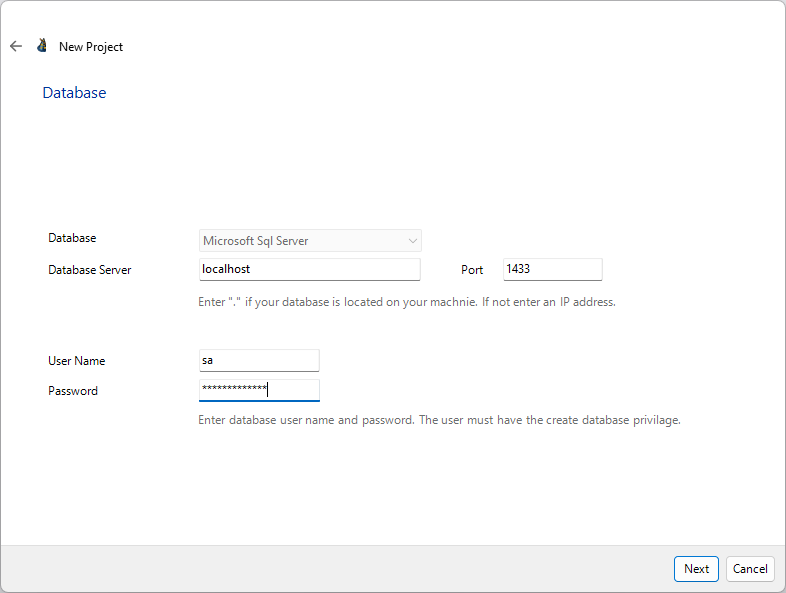
You need to enter the username and password that you created when setting up your database server. If these details are incorrect, you will not be able to complete the creation of the new project.
Want to use PostgreSQL?
In that case, select PostgreSQL as the Database and then later in the already created project, edit the configuration in OrigamSettings.config - Data Connection, both DataConnectionString and DataDataService, plus DeployPlatforms. In addition to that you need to set the DatabaseType property in the Docker .env file to “postgresql“.
Create app user
In this step, you will create an account for the first user in your future application.
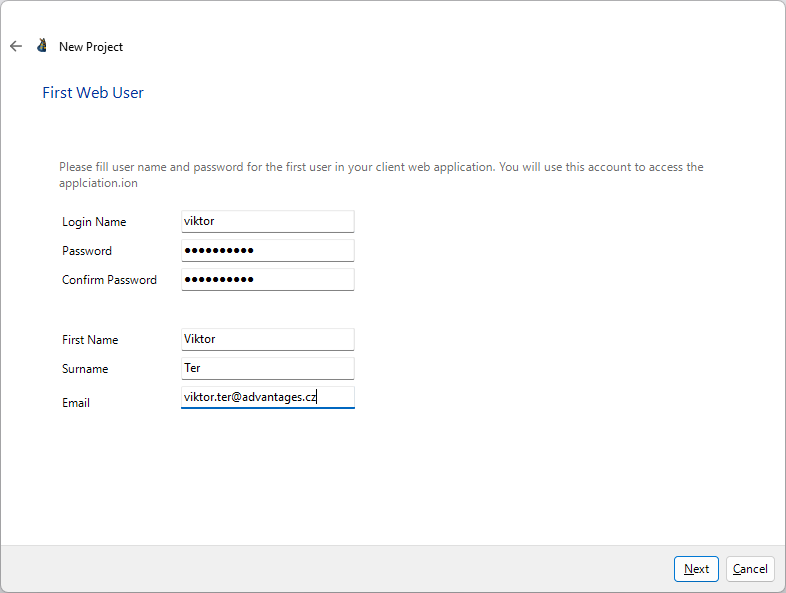
Make sure to remember or write down the login name and password, as you will need them later to log in to your application:
Save your model
At this stage, Architect will create a Git repository for your project and configure your username and email for it.
If you do not wish to create a repository, simply uncheck this option.
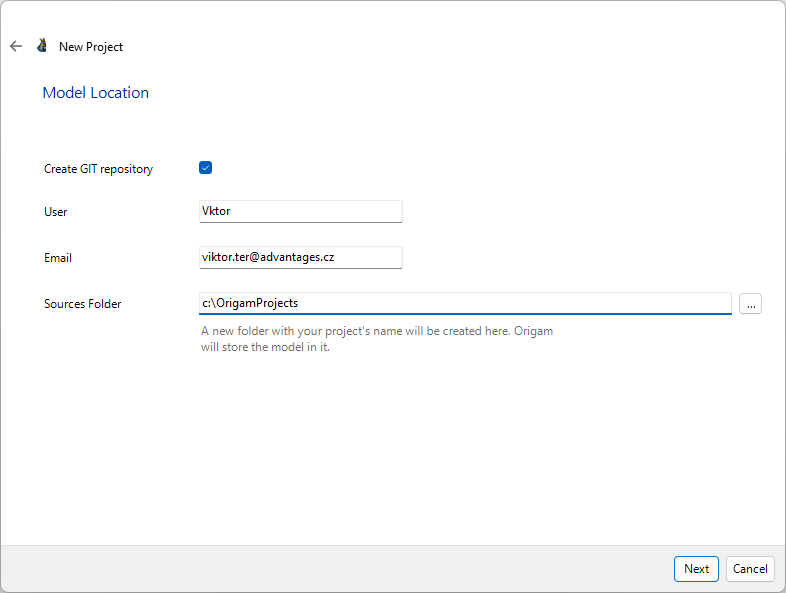
You will also need to choose the location for your project model.
You can leave the project folder as is or select your own. Since we will build on this setup in future tutorials, it is recommended to keep the default settings.
Complete the process
Now, just run the final step, and your project will be created. If your database connection is correctly configured, the process should finish successfully.

If any issues arise, use the arrow above to return to the appropriate step, adjust the settings, and run the final process again.
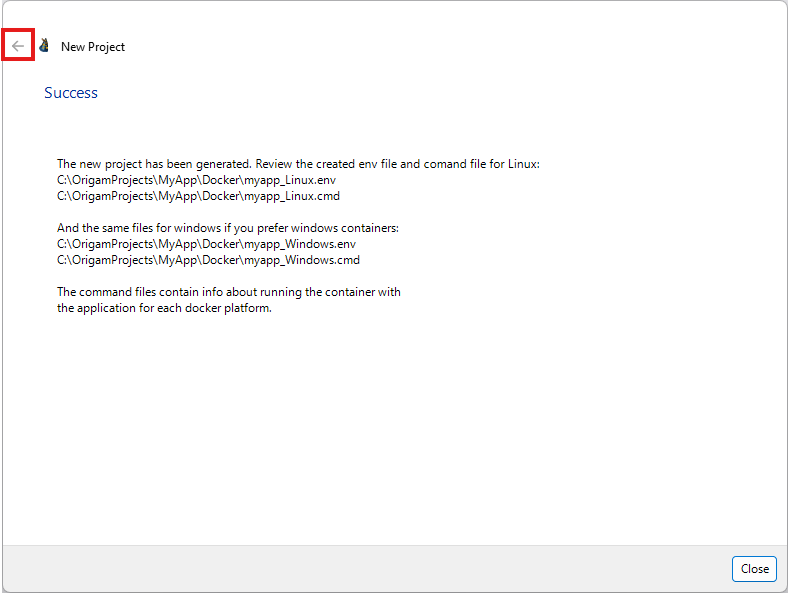
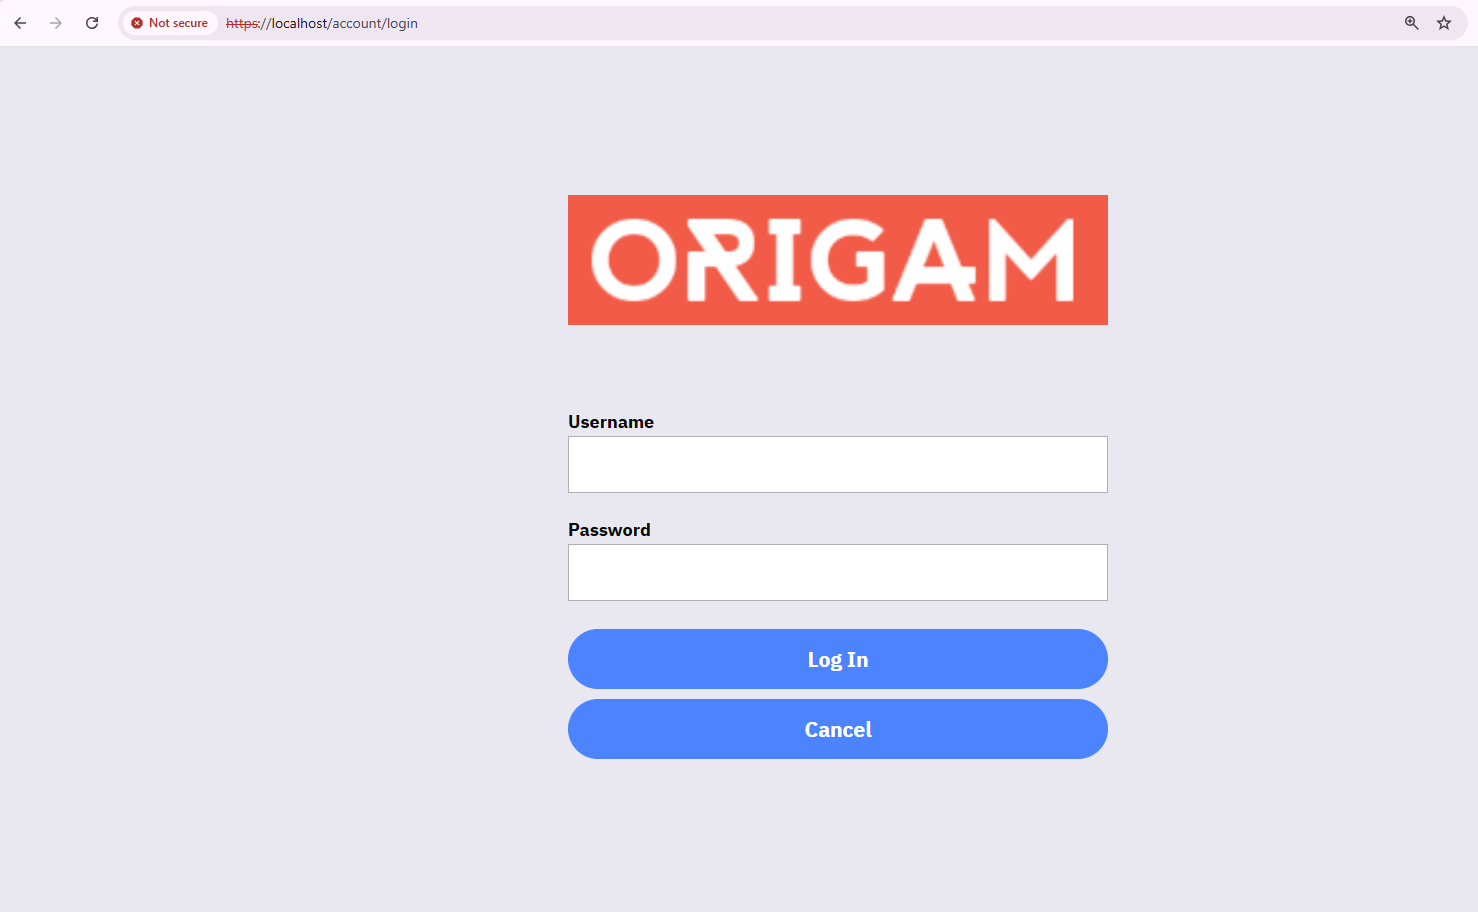
Once your project is created, you can begin development.