This tutorial will show you how to get into the new application you created as a project in ORIGAM Architect, its content, and basic functions.
[!success]- Prerequisites for further work
There are four basic prerequisites for your app to work:
- Have a running database server
- Have a running ORIGAM application server
- Have a project created in ORIGAM Architect
- Have a web browser installed
Now we will take a look at what the new client application looks like in its default form before you start creating anything custom in it.
Opening the application
If you are running Docker locally as described in our tutorial, then the address of the application on your machine will be the following:
https://localhost
You have to use the secured protocol (https), unsecured (http) will not work.
When confirming this direction, you will most likely get a warning because of the HTTPS certificate. To go around this, just click on Advanced and then choose the option Proceed to localhost (unsafe).

Logging in the app
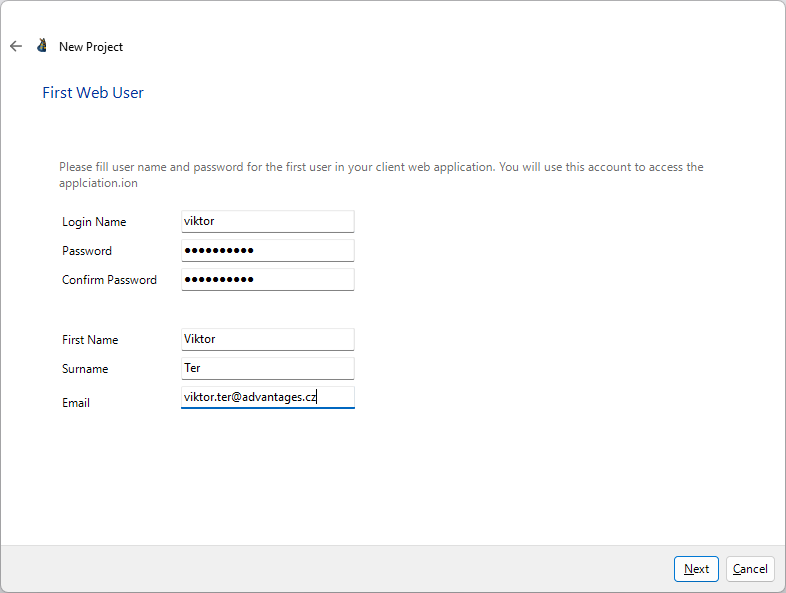
Now you should see the login page and enter the username and password you inserted when creating your new project.
This is the wizard where that happened:
This is how the login screen looks in the Google Chrome browser:

App overview
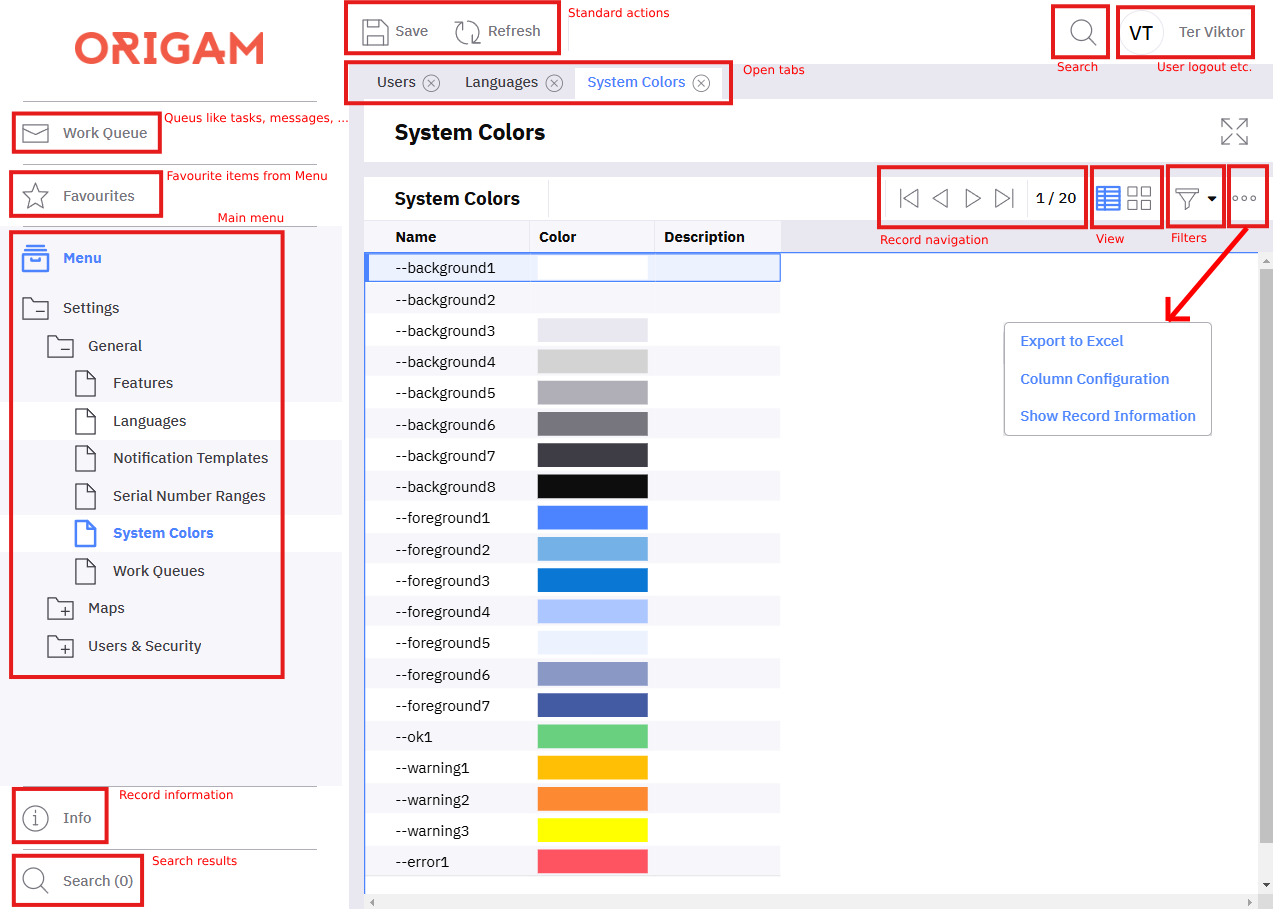
When entering the right username and password, you will enter the application that looks like this:
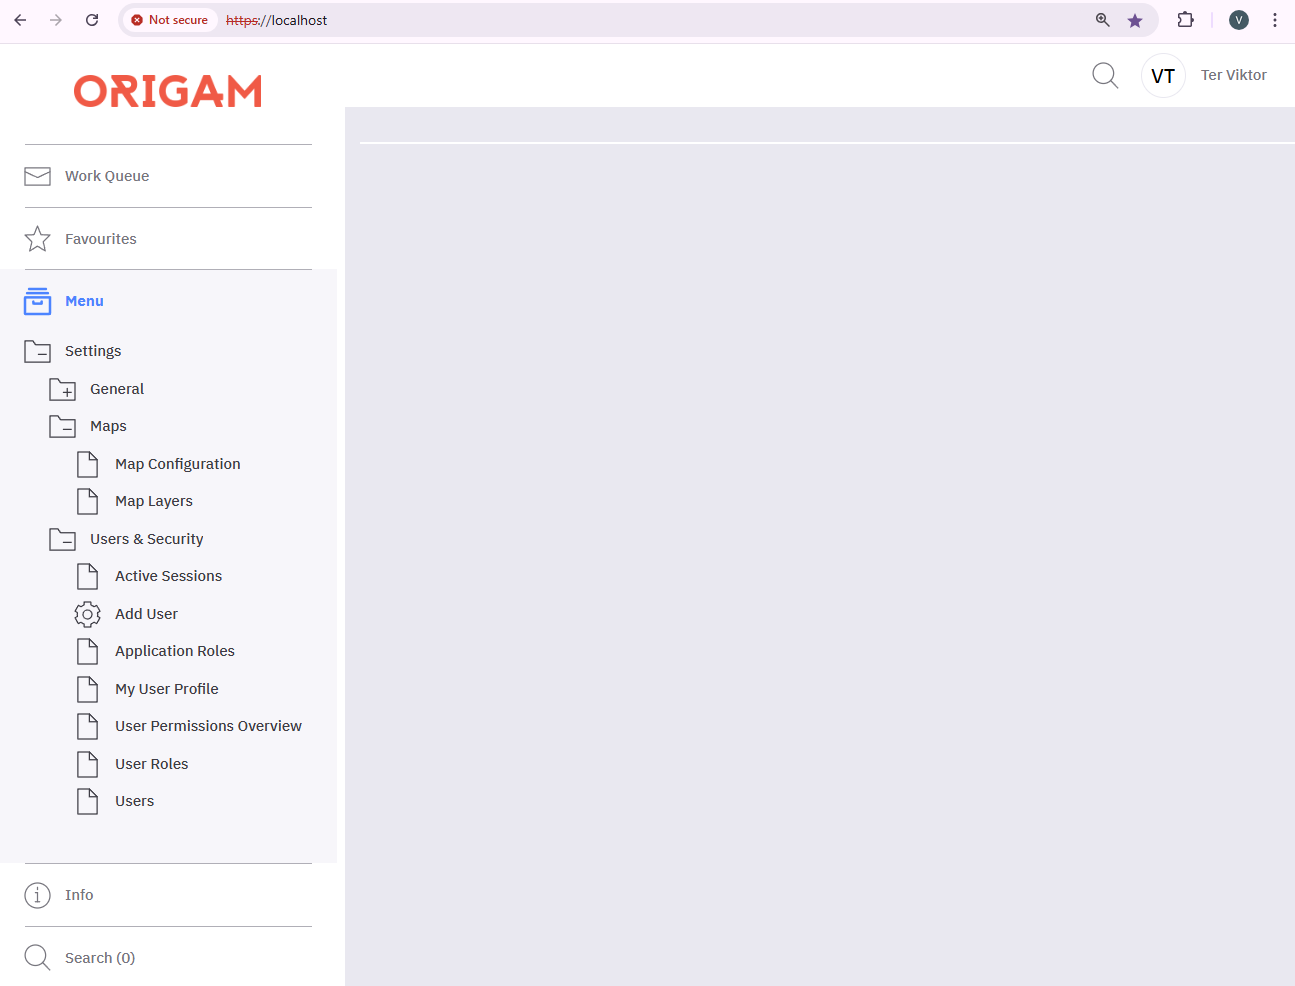
The application is brand new and empty, but there are some default settings and data like, for example:
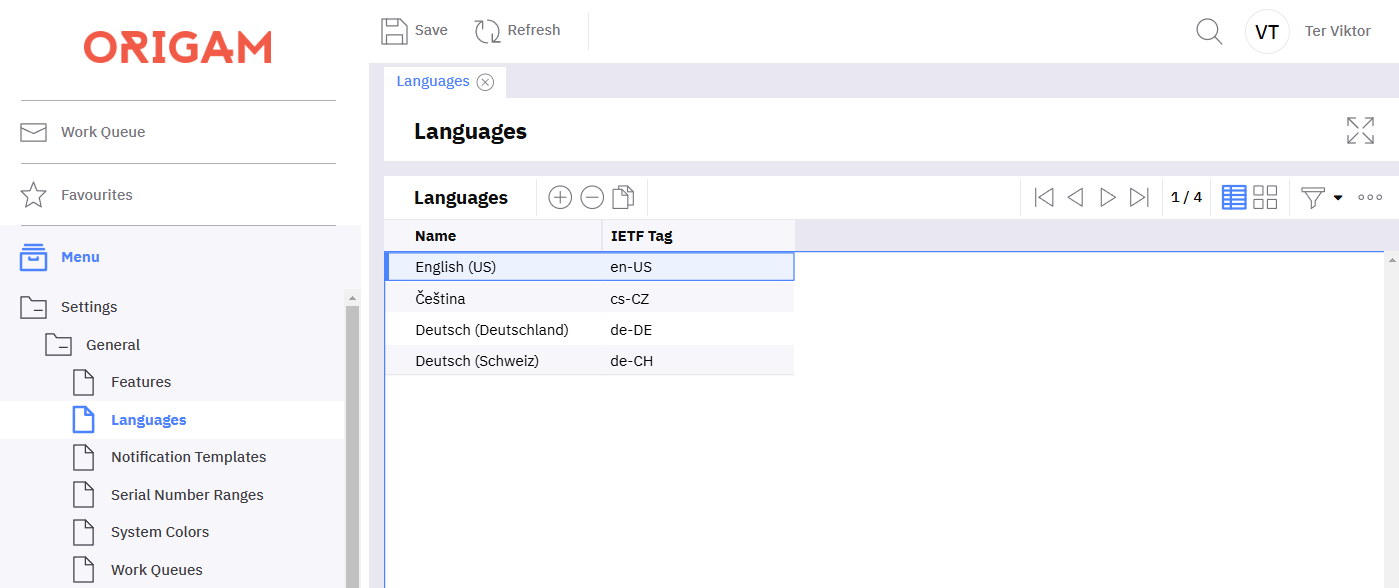
Menu - Settings / General / Languages
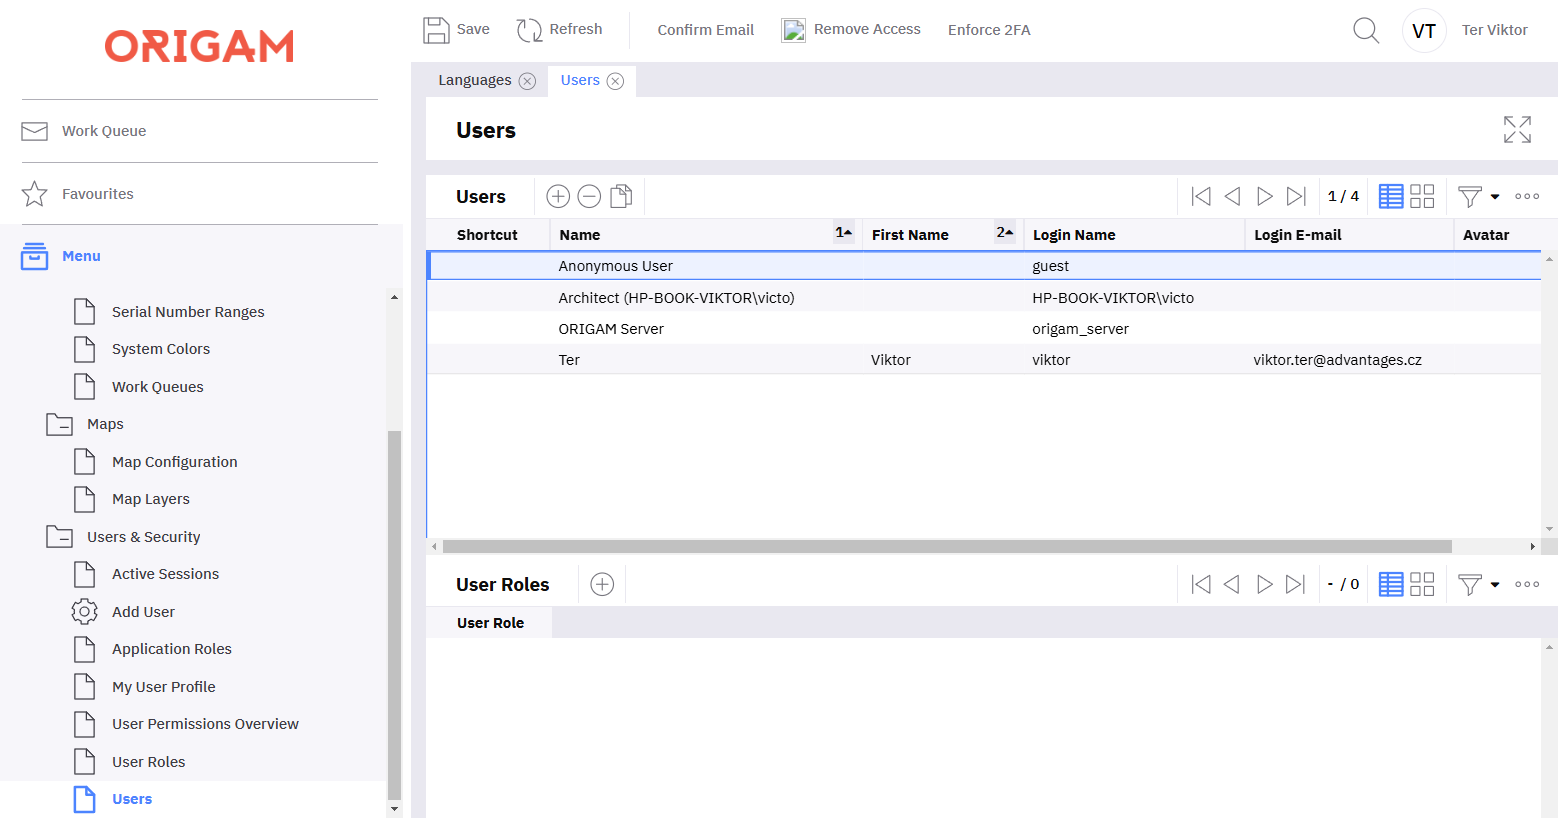
Menu - Settings / Users & Security / Users
Also, items like Add User or My User Profile may be useful for you. You can also add any of the menu items into Favourites.
Common functionality
Now let’s have a look at the basic navigation elements and page functions:
More information about the client application content and ready-made building blocks can be found in this article.
Now you can play with the application and then start to add your own content like new screens, functionality, menu items, etc.